DESIGN
A VERY CHRISTMAS-Y FIREPLACE REVEAL
Our living room is complete!!! After a year of putting off bricking the fireplace, we finally completed it and that is a wrap to our living room remodel! Except for the new furniture, we will eventually get (couch, chairs, coffee table, rug, etc). But for now, we celebrate the built-ins and brick fireplace from our current couch!
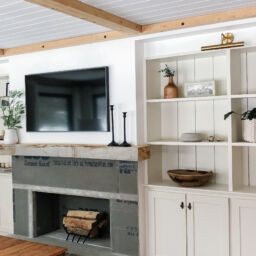
We went from this…

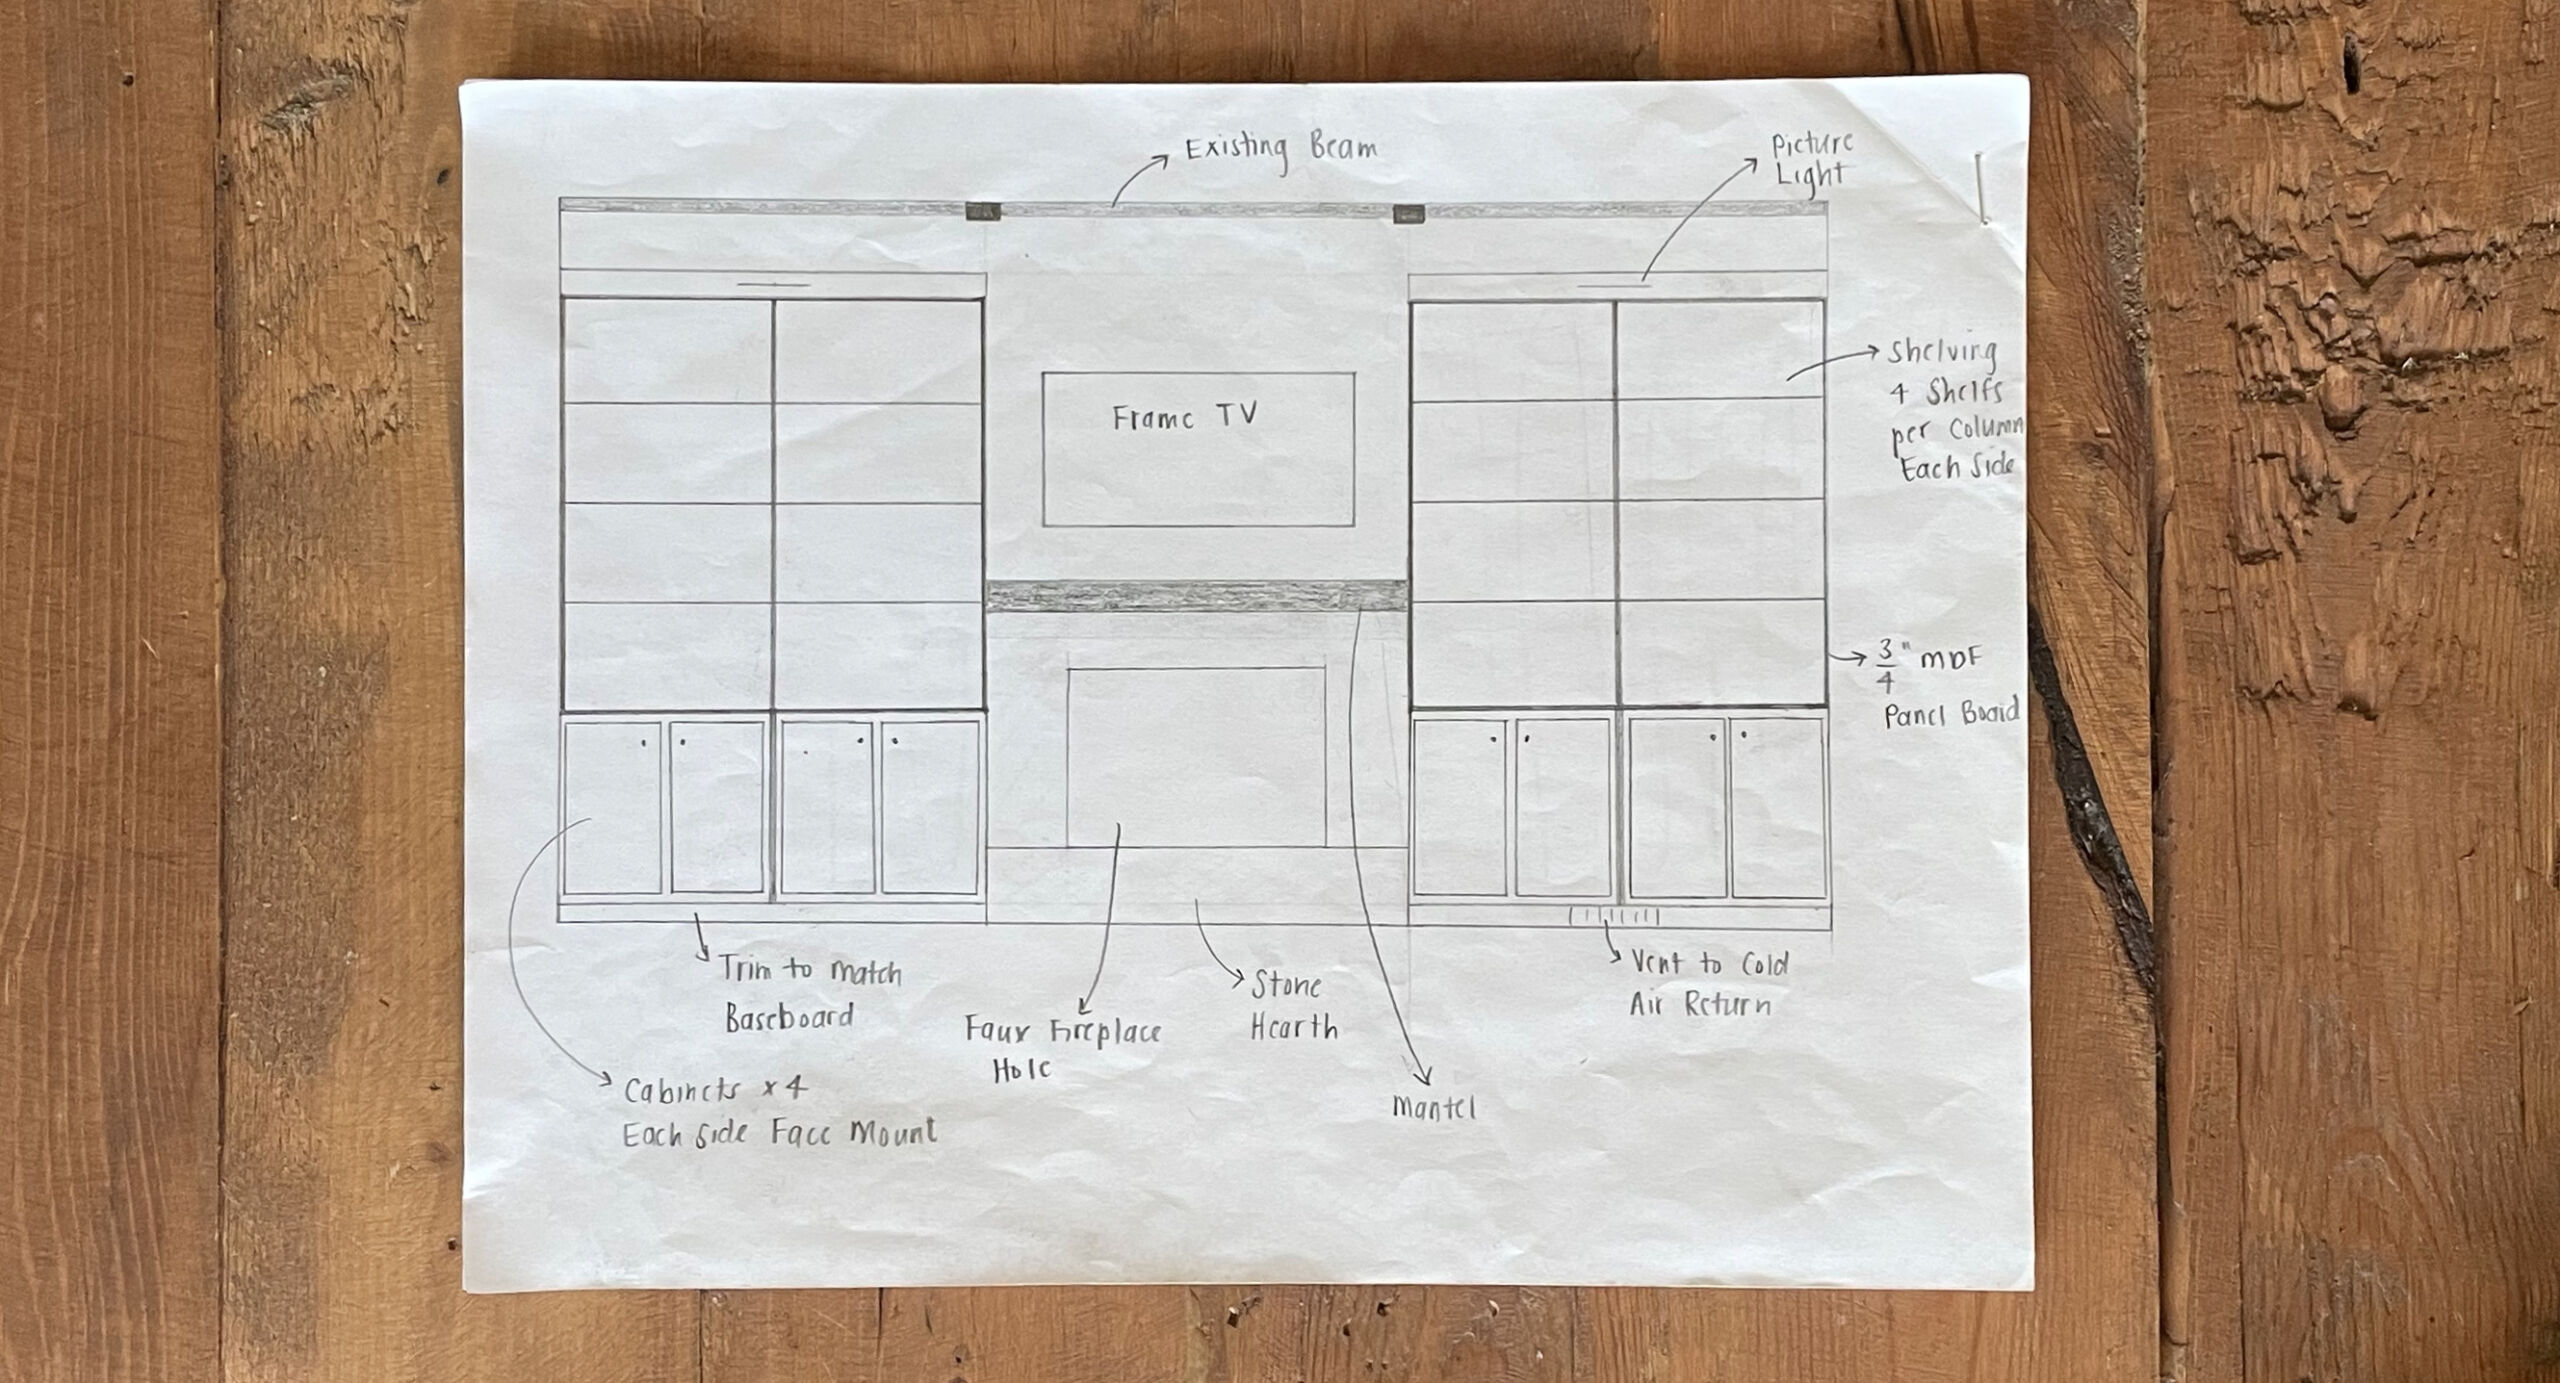
To an idea put on paper…
The existing beams in our living room stumped me. I had to figure out how to seamlessly incorporate them into the design because we love them and wanted to keep them. Once I came up with a solution, I put it on paper to communciate my ideas. This drawing is what we worked from.
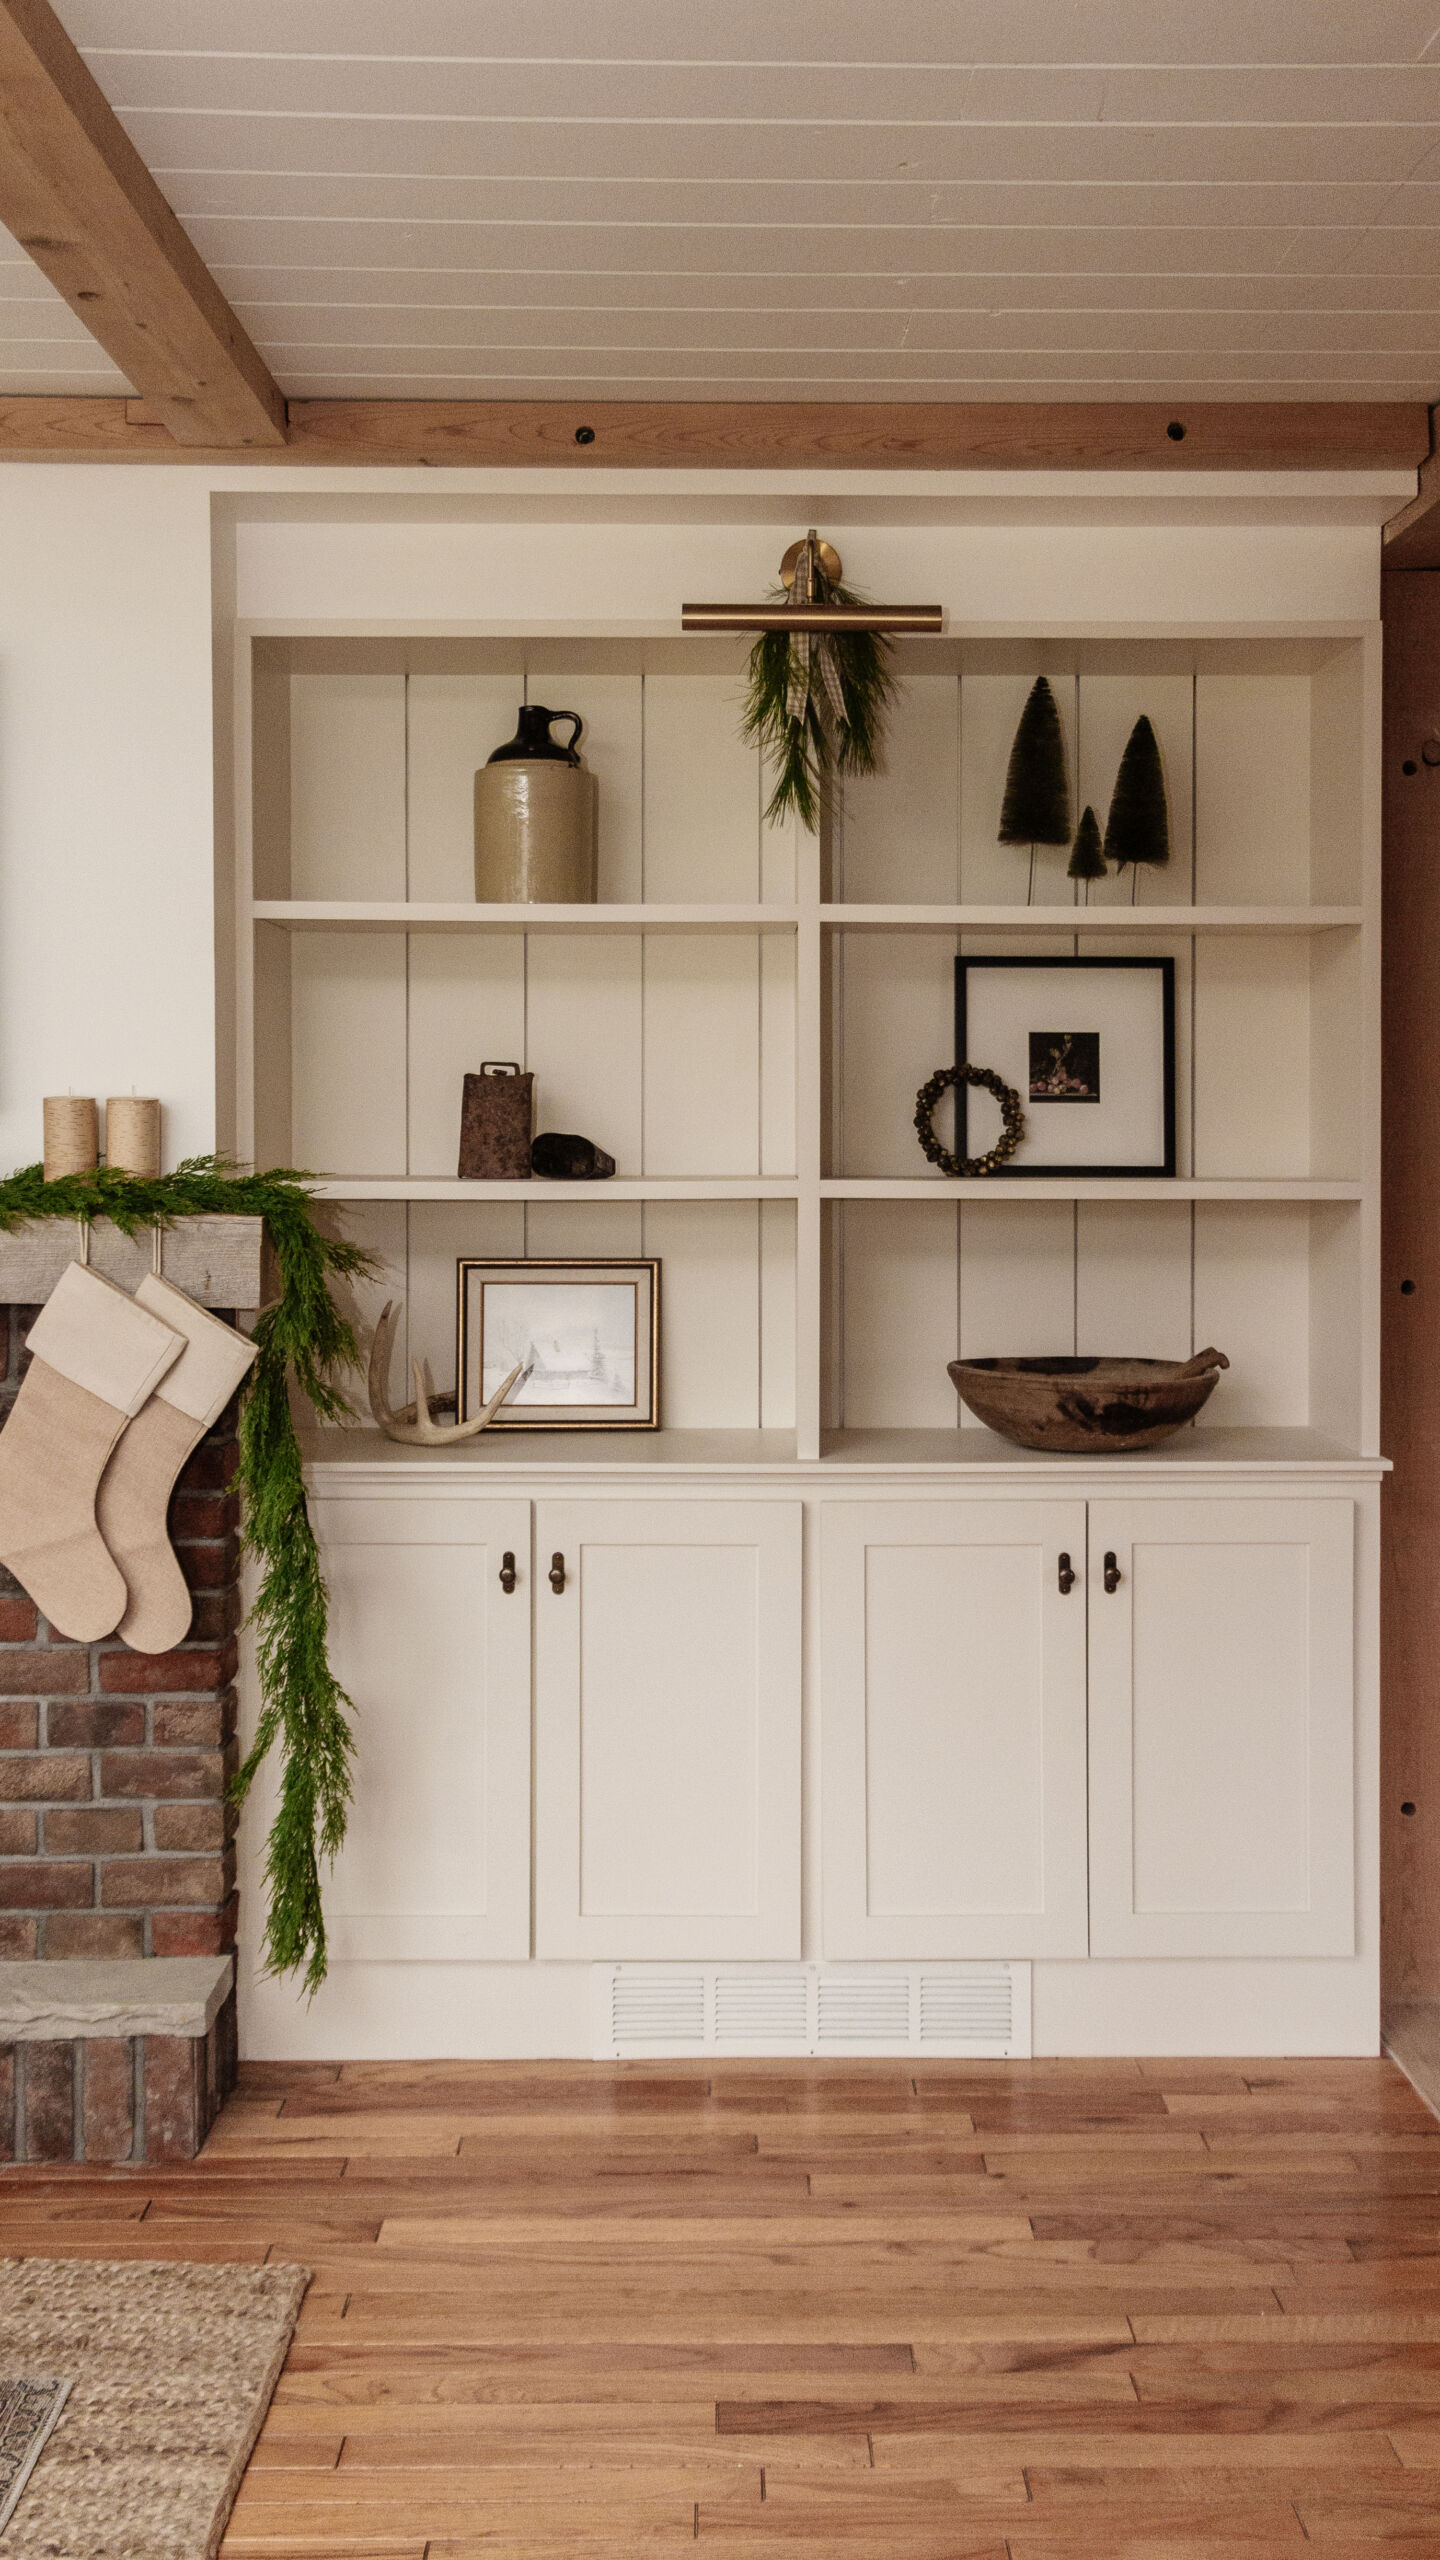
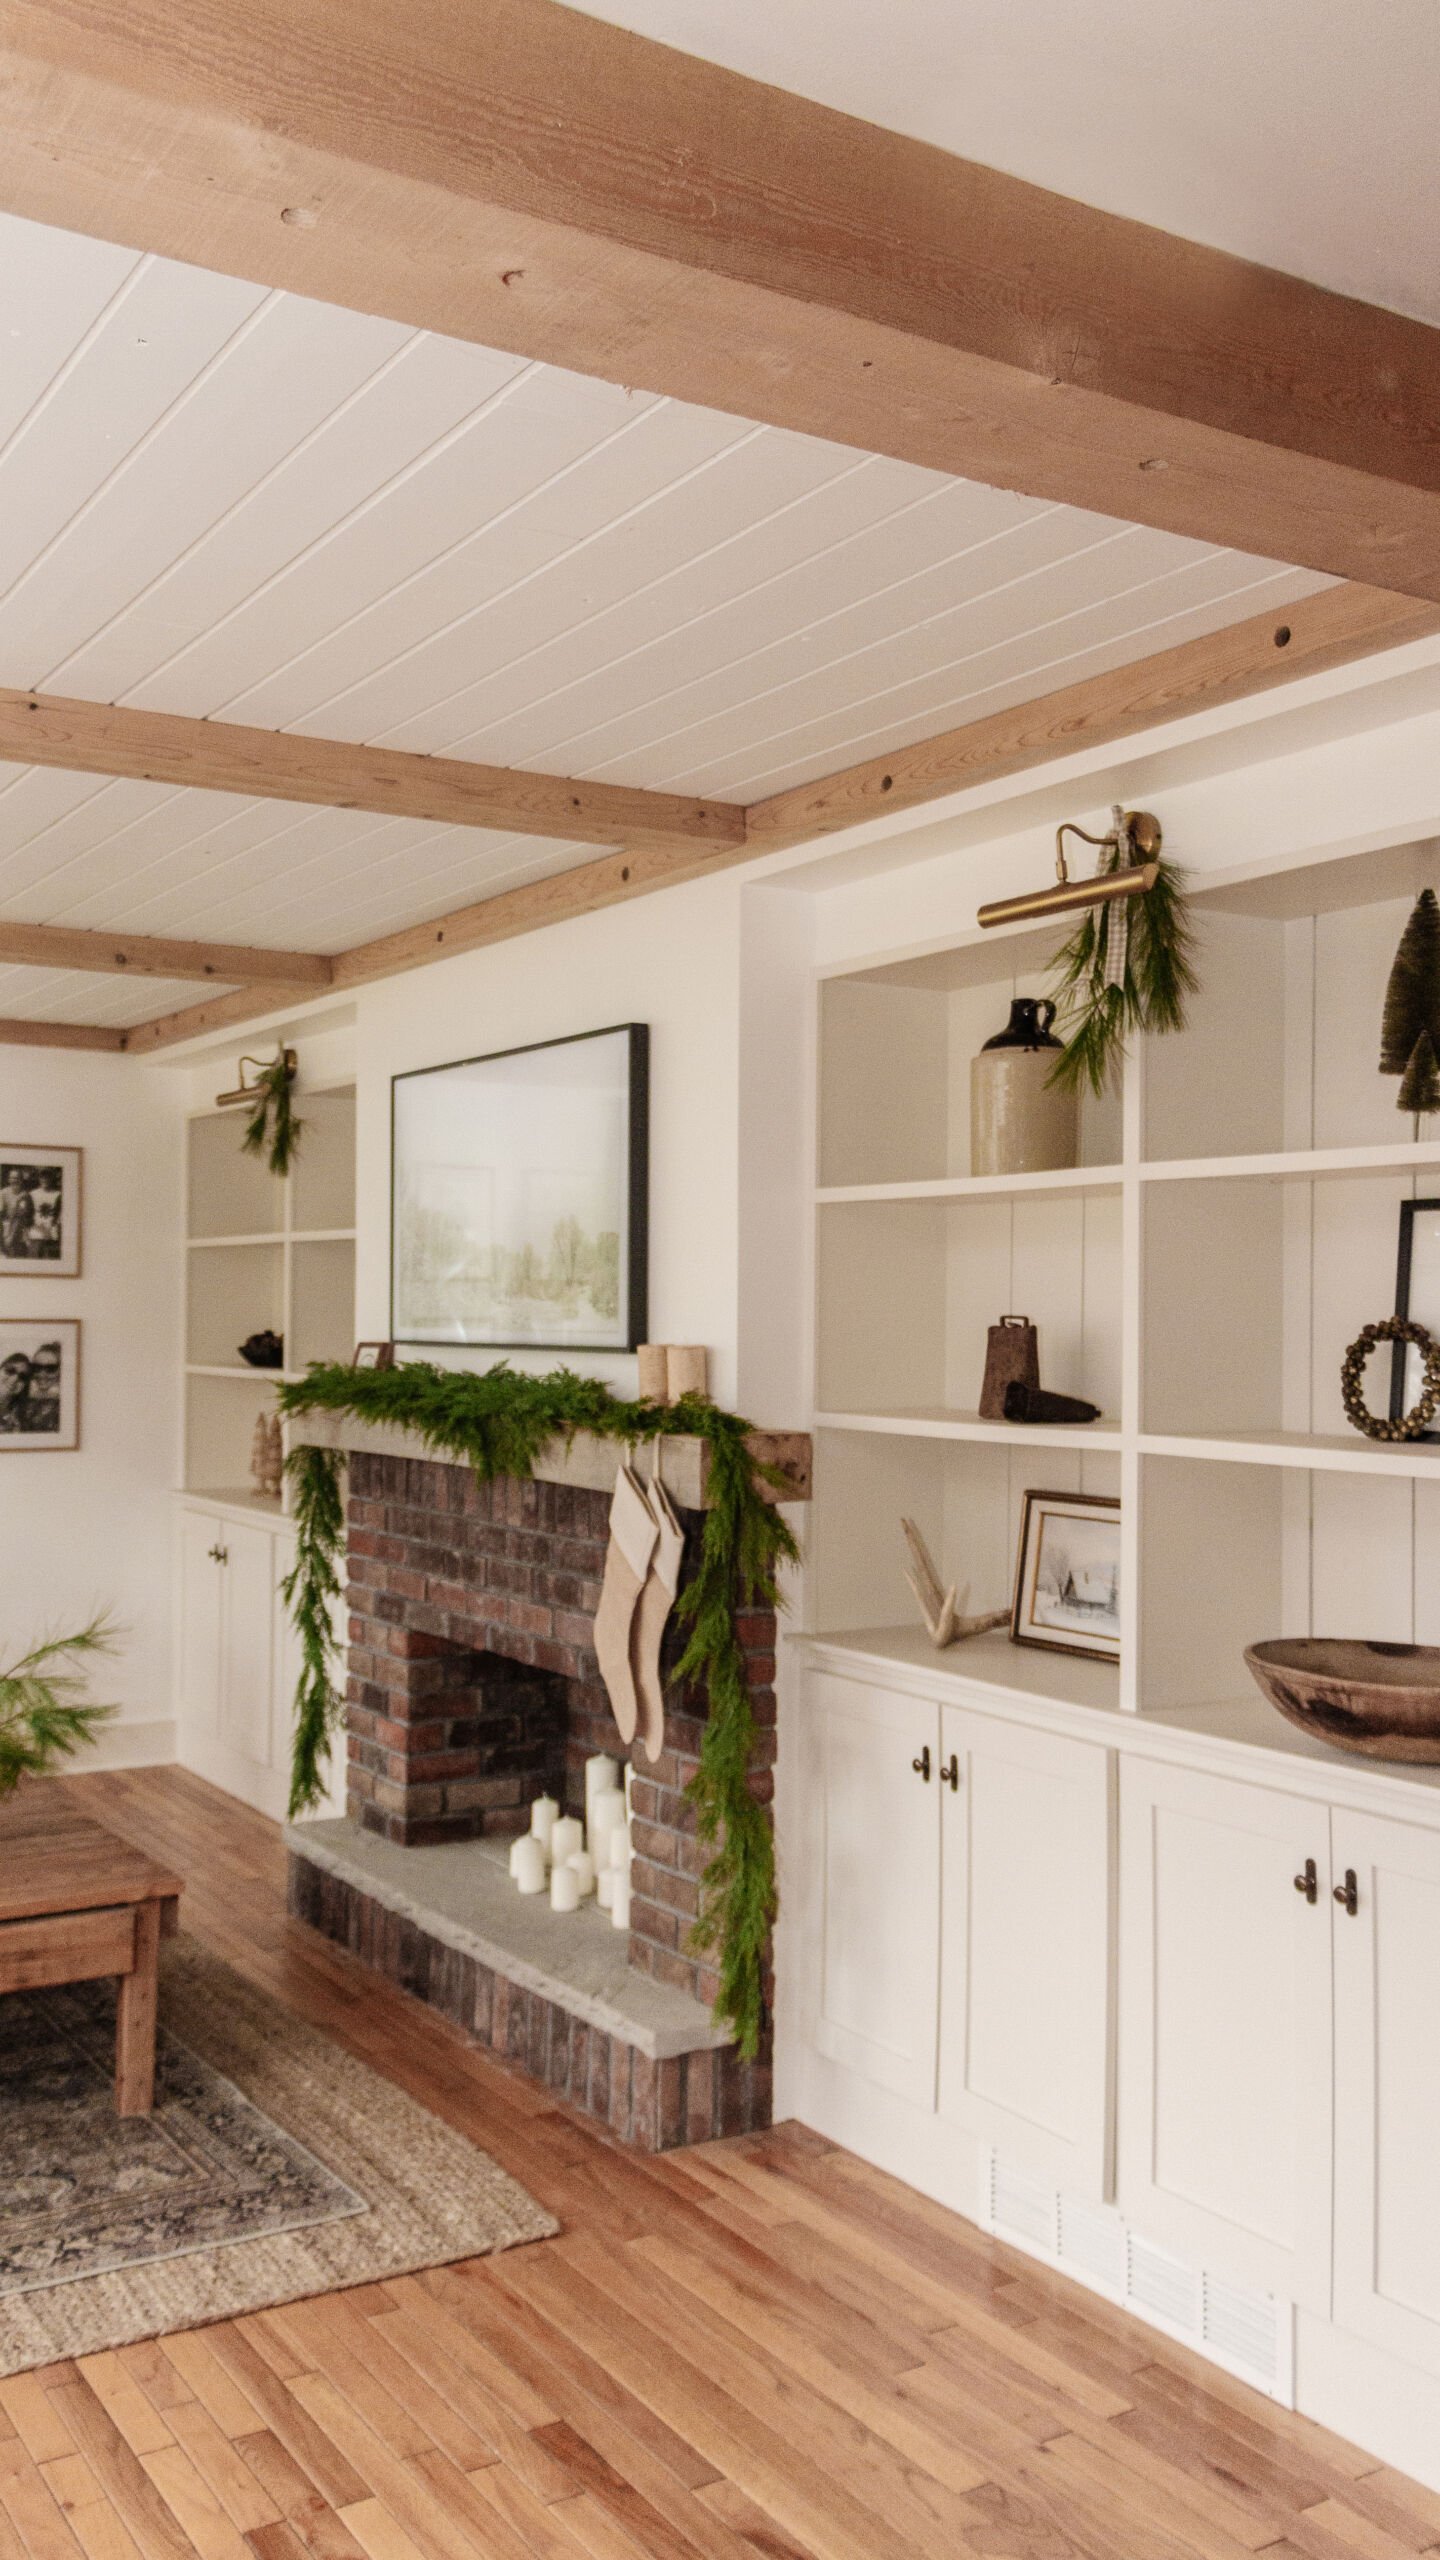
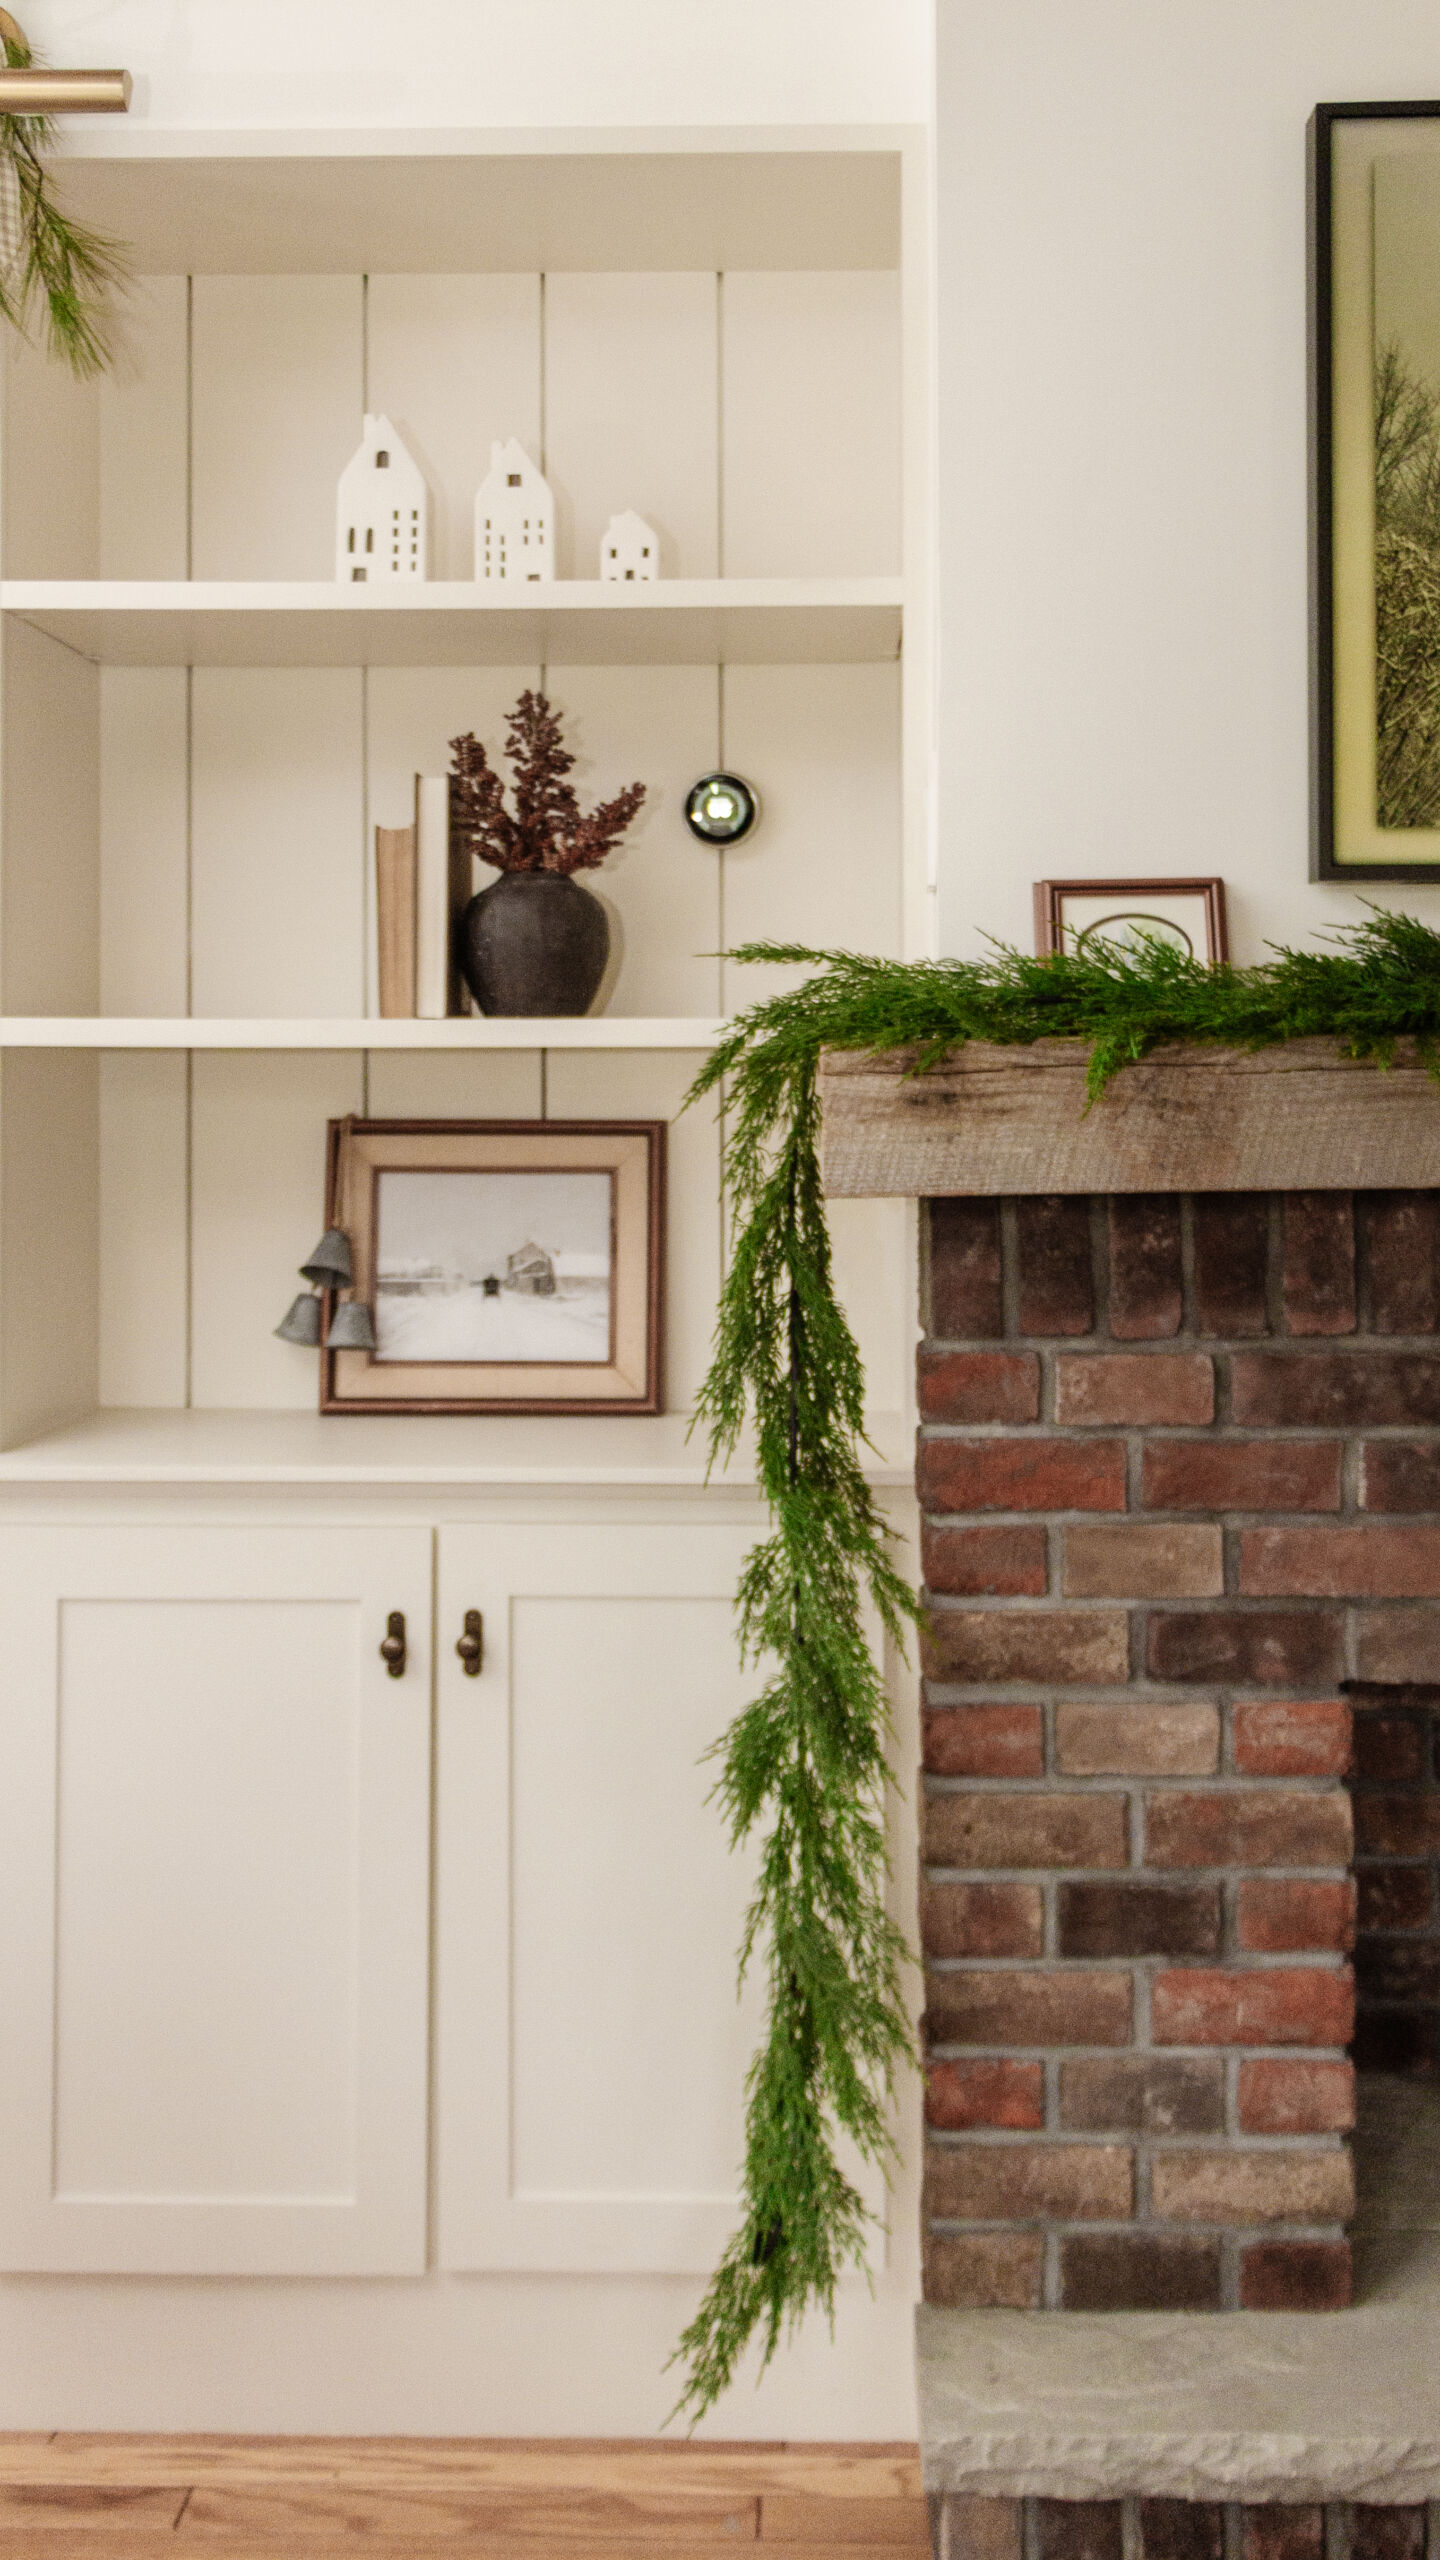
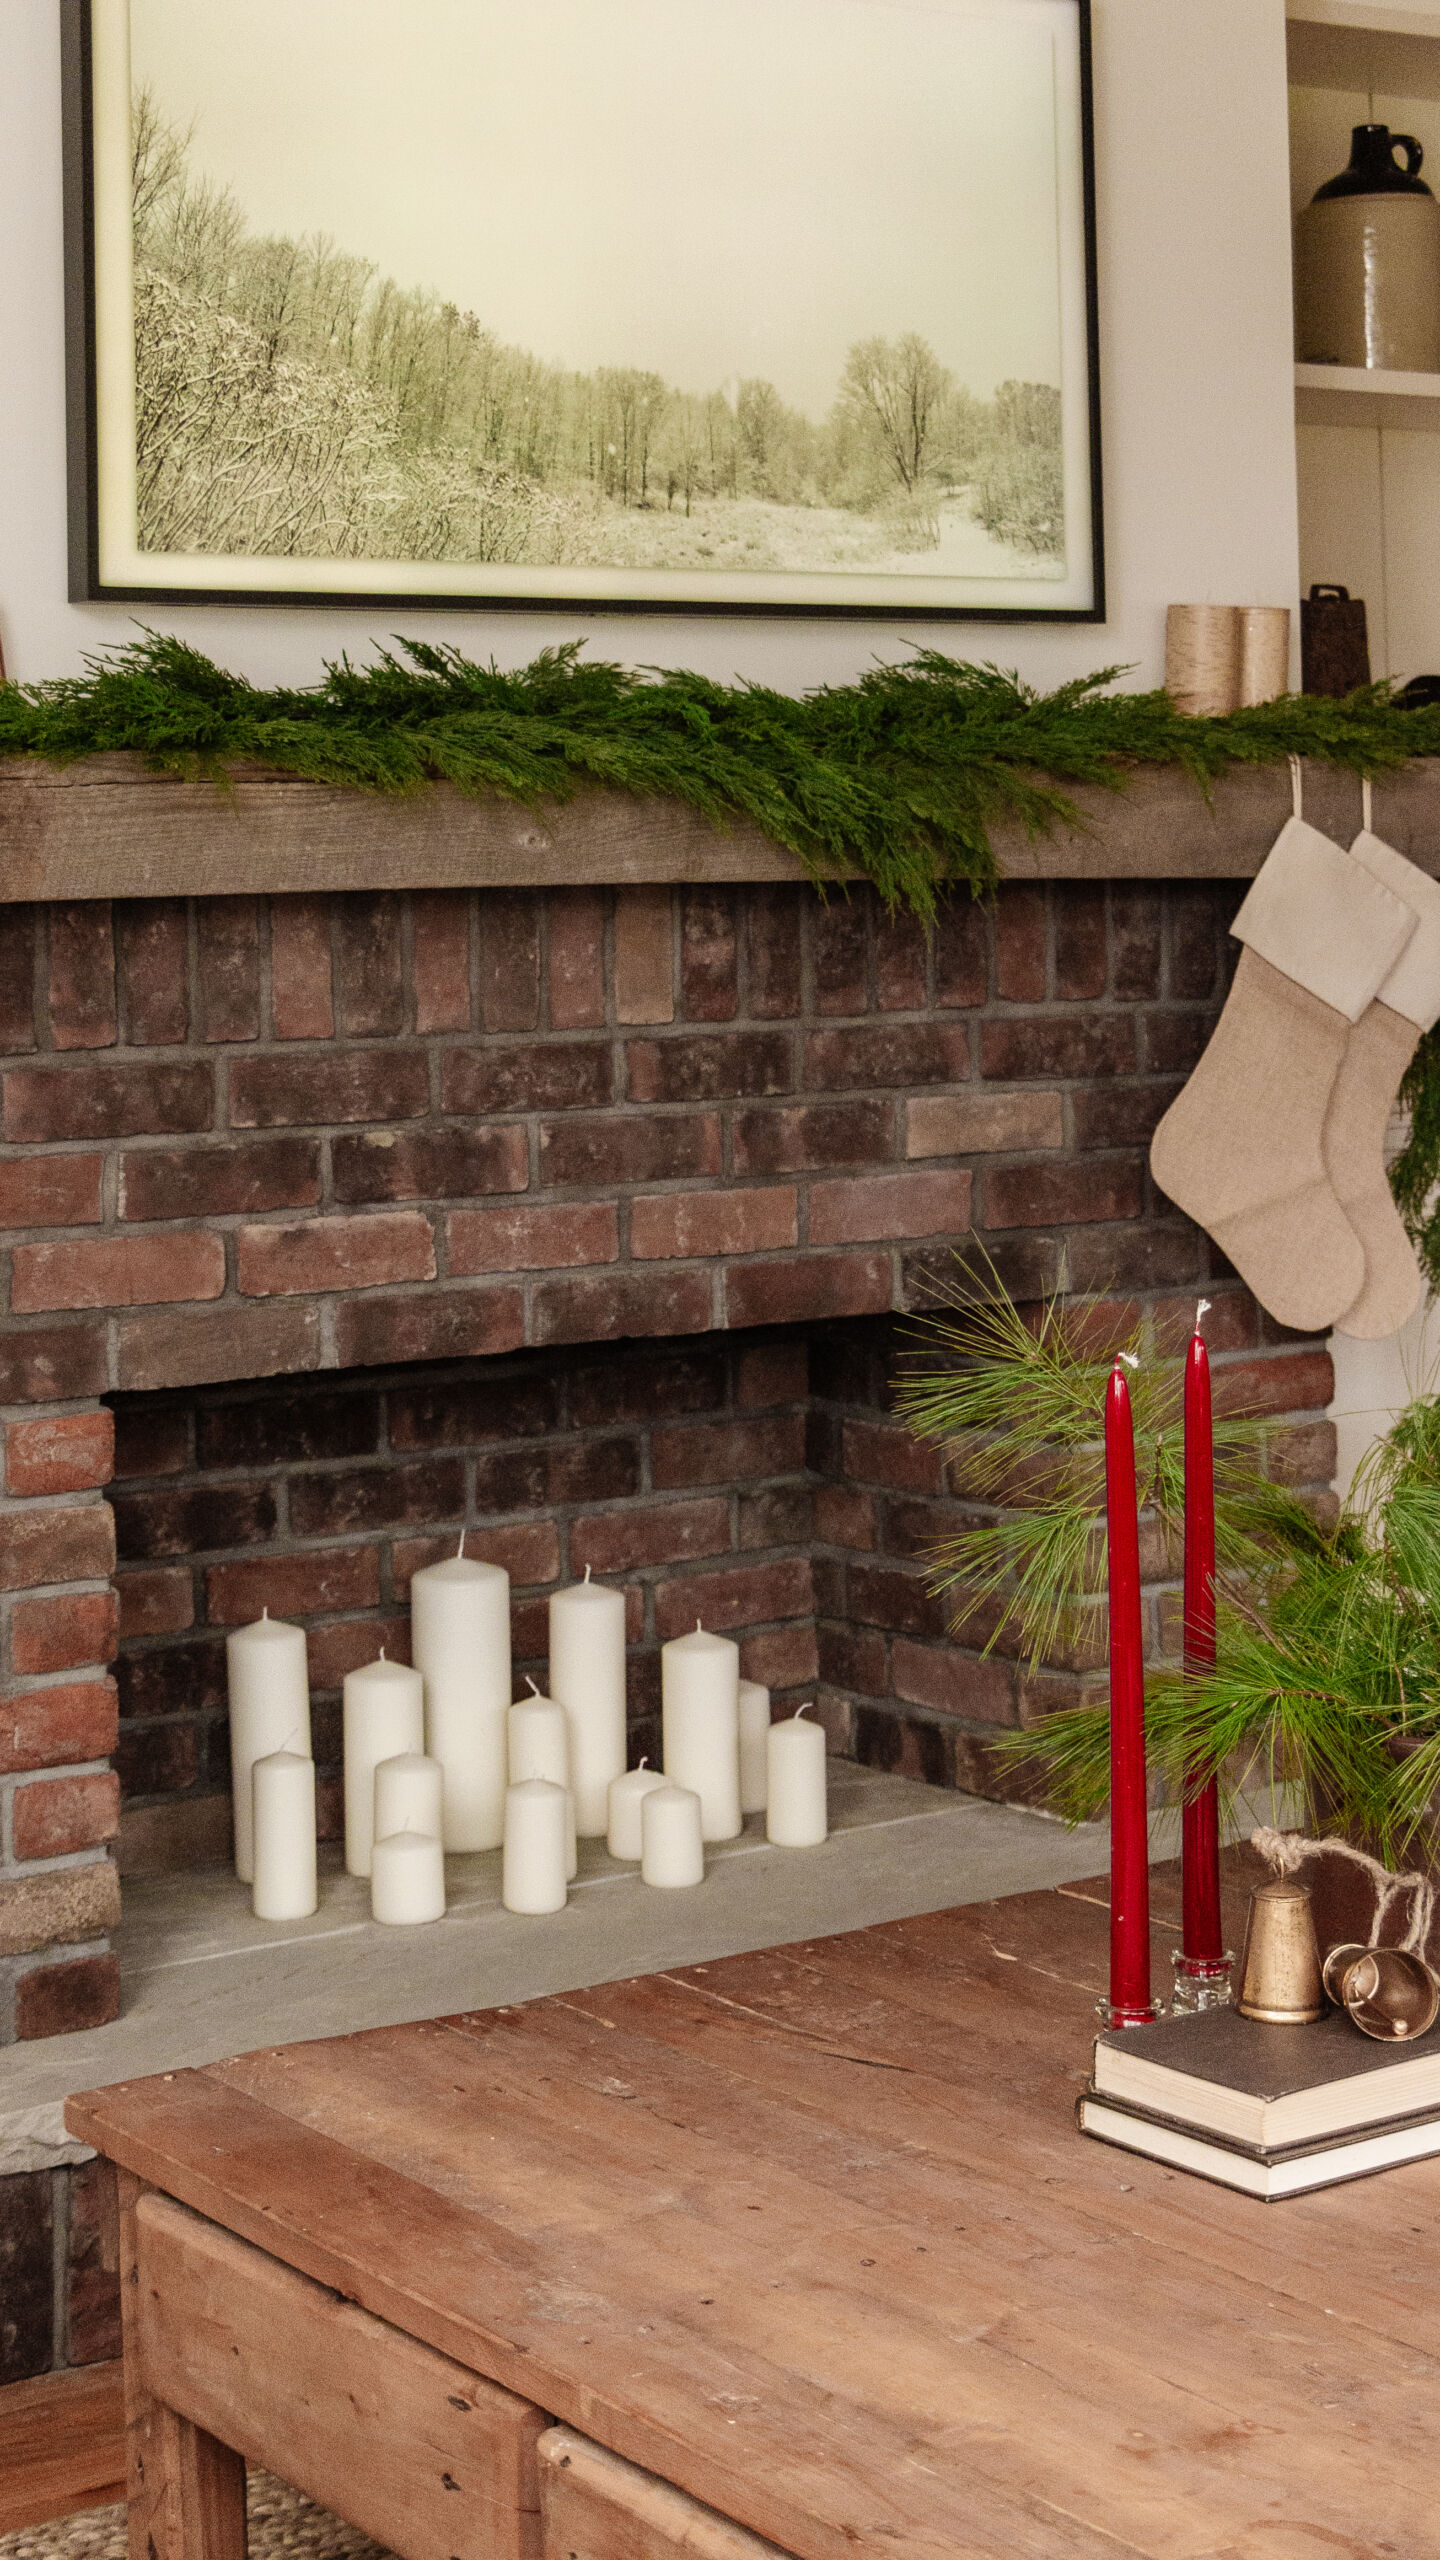
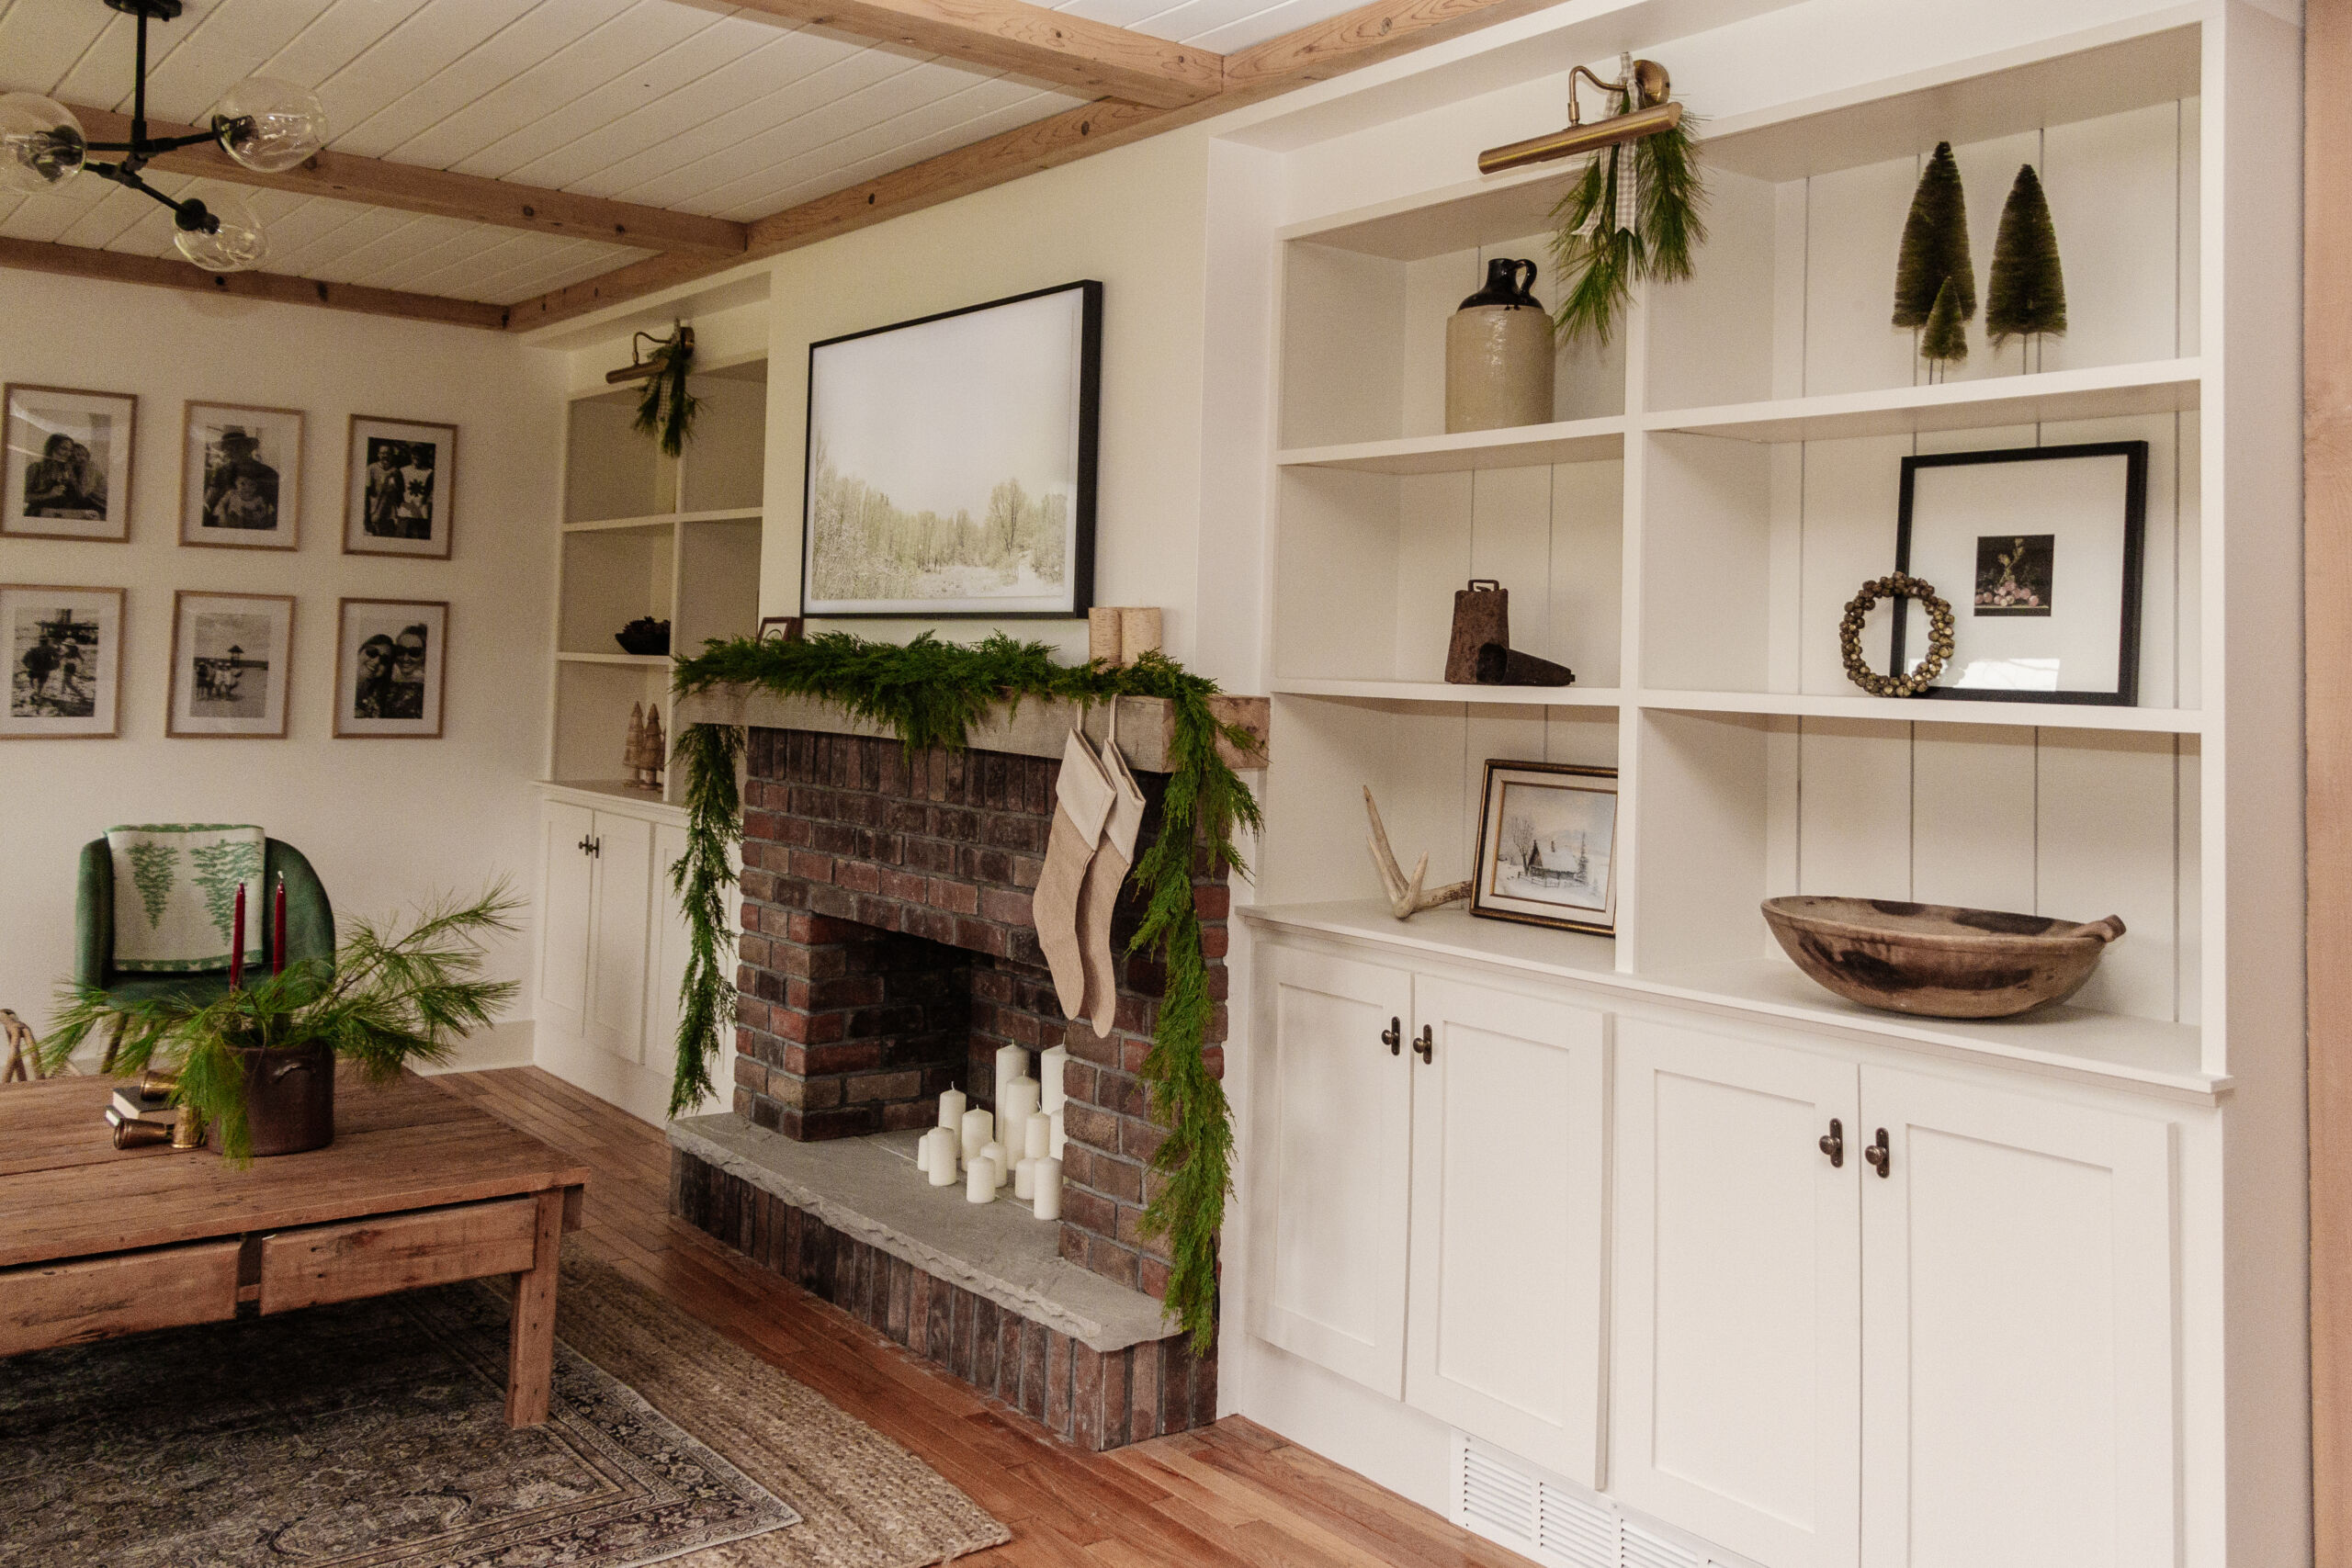
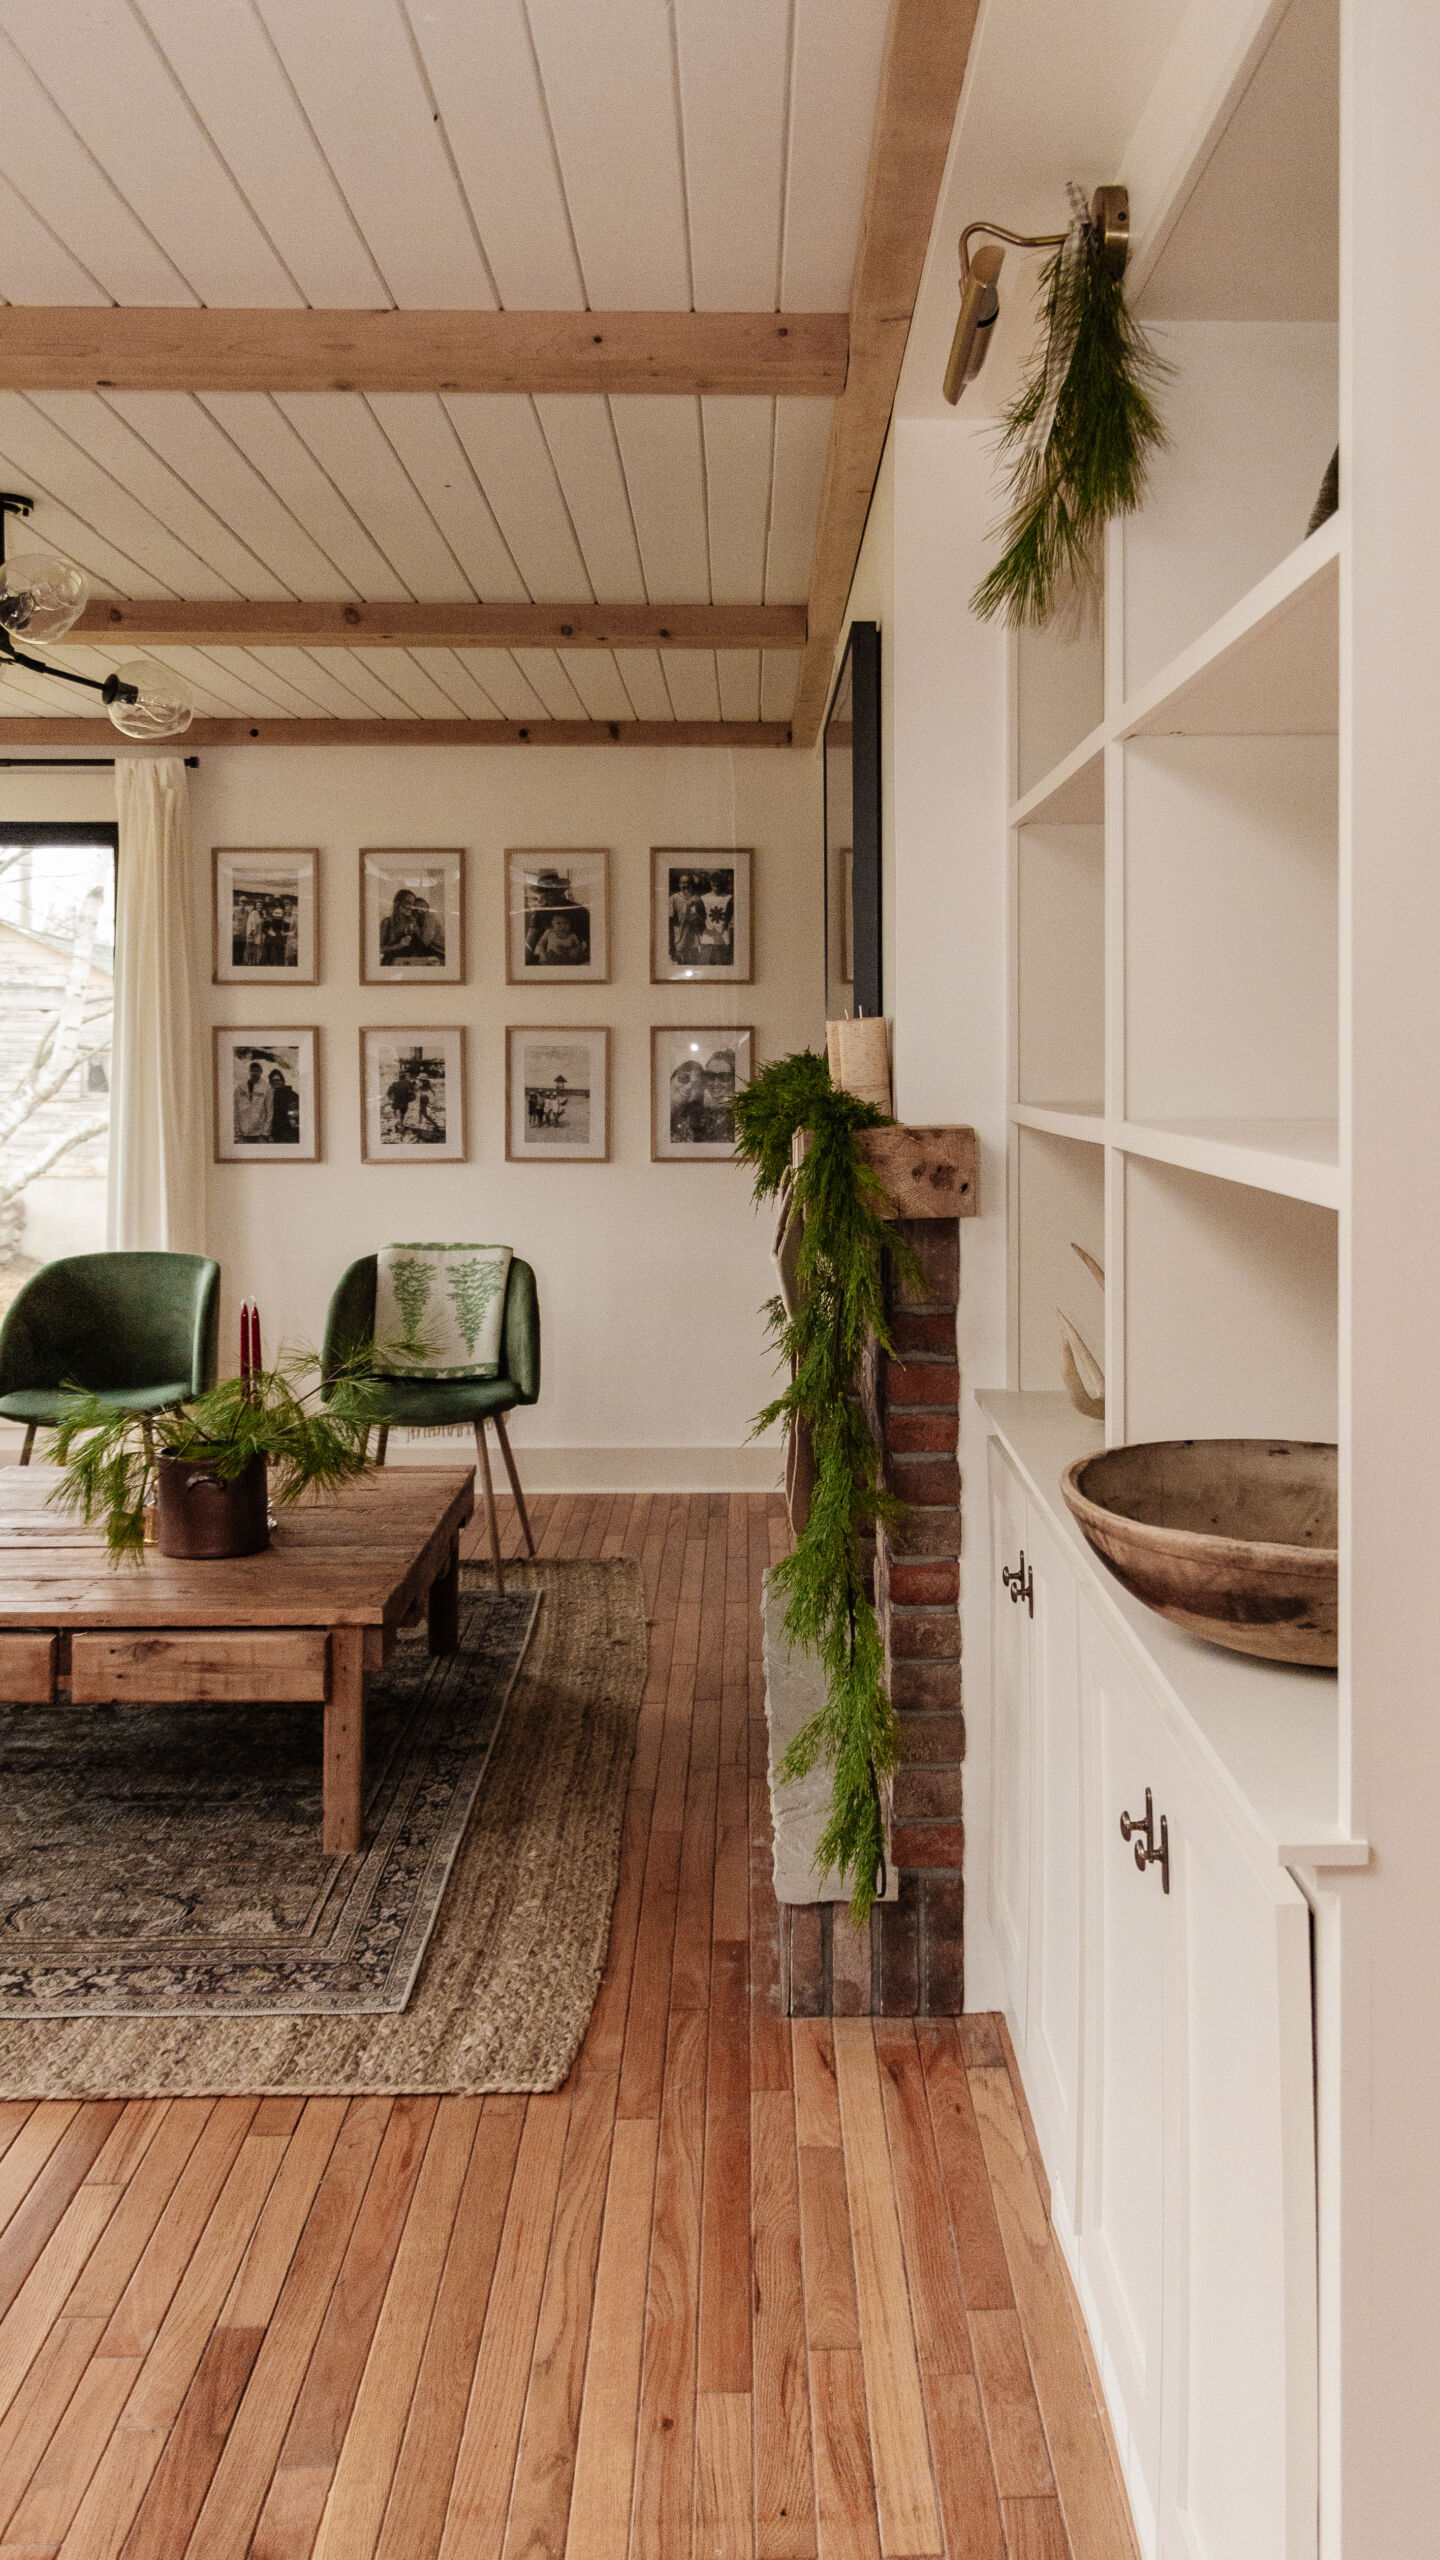
And after a lot of work, it now looks like this!

If you have been following along on IG for a while, you are familiar with this view sans brick. While bricking the fireplace, an exciting discovery was made.
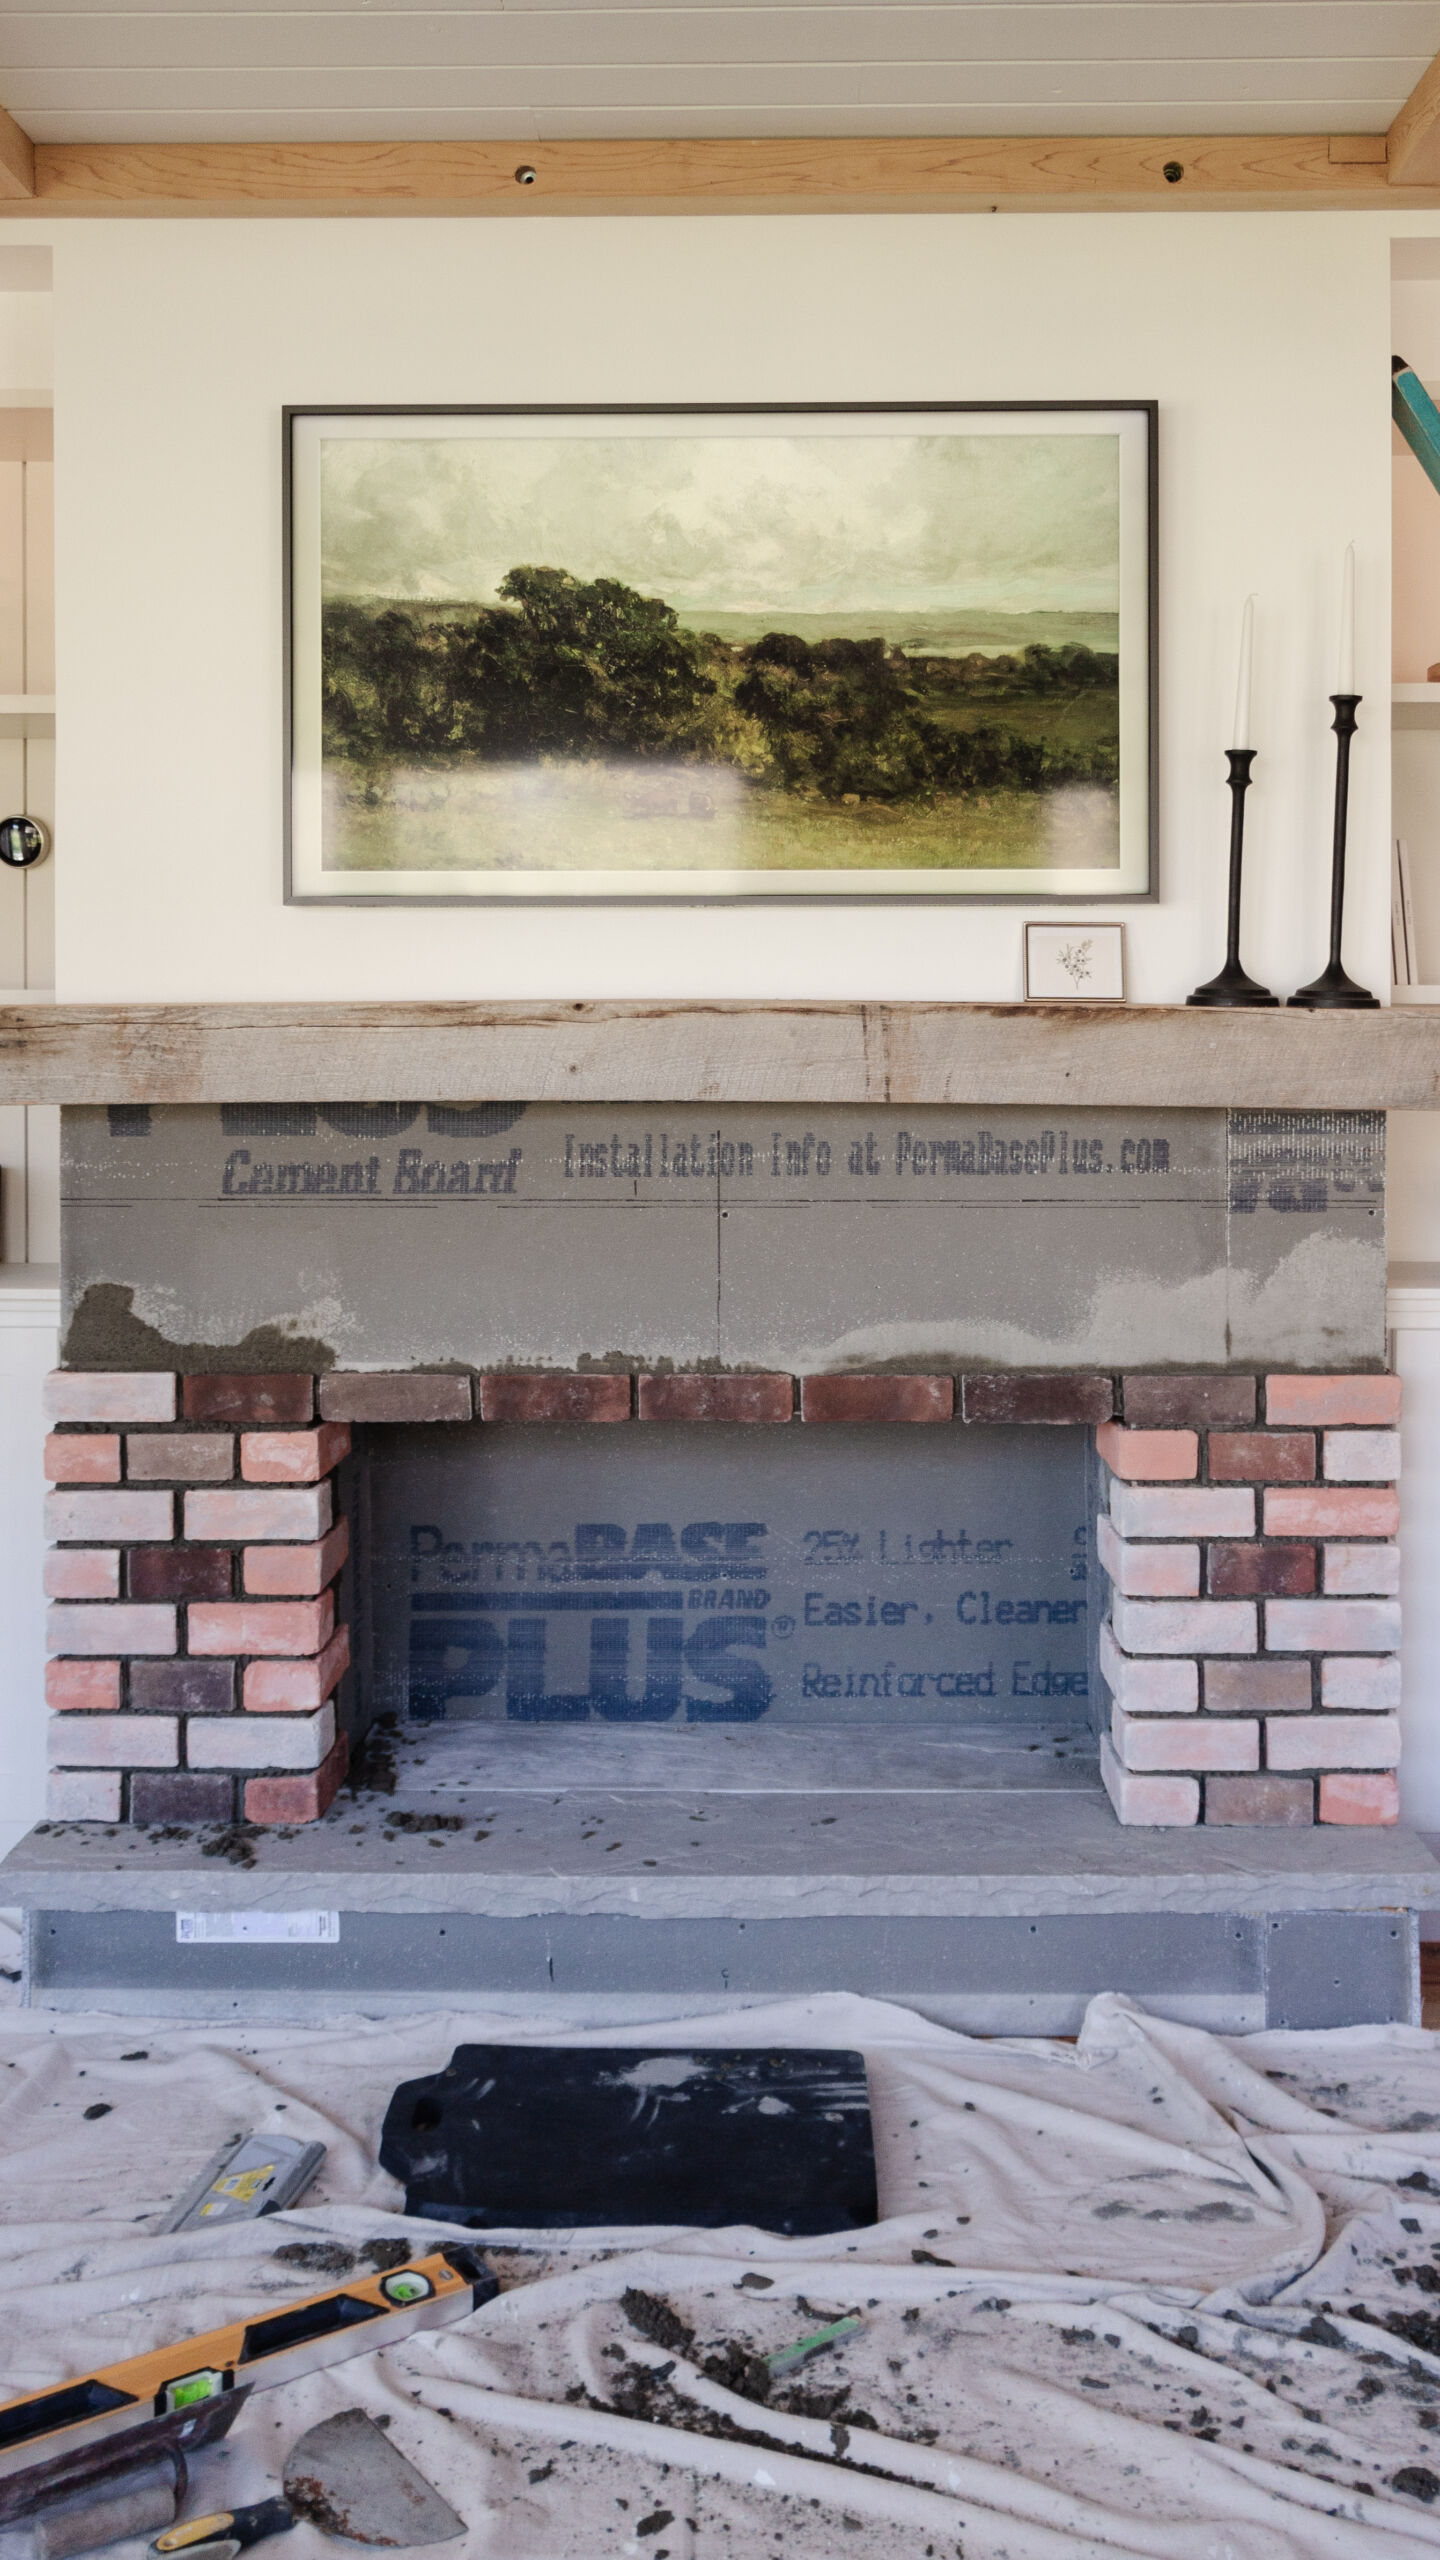
Corner pieces and one row of flat pieces up. A first glimpse at the amazing colour of the flats.
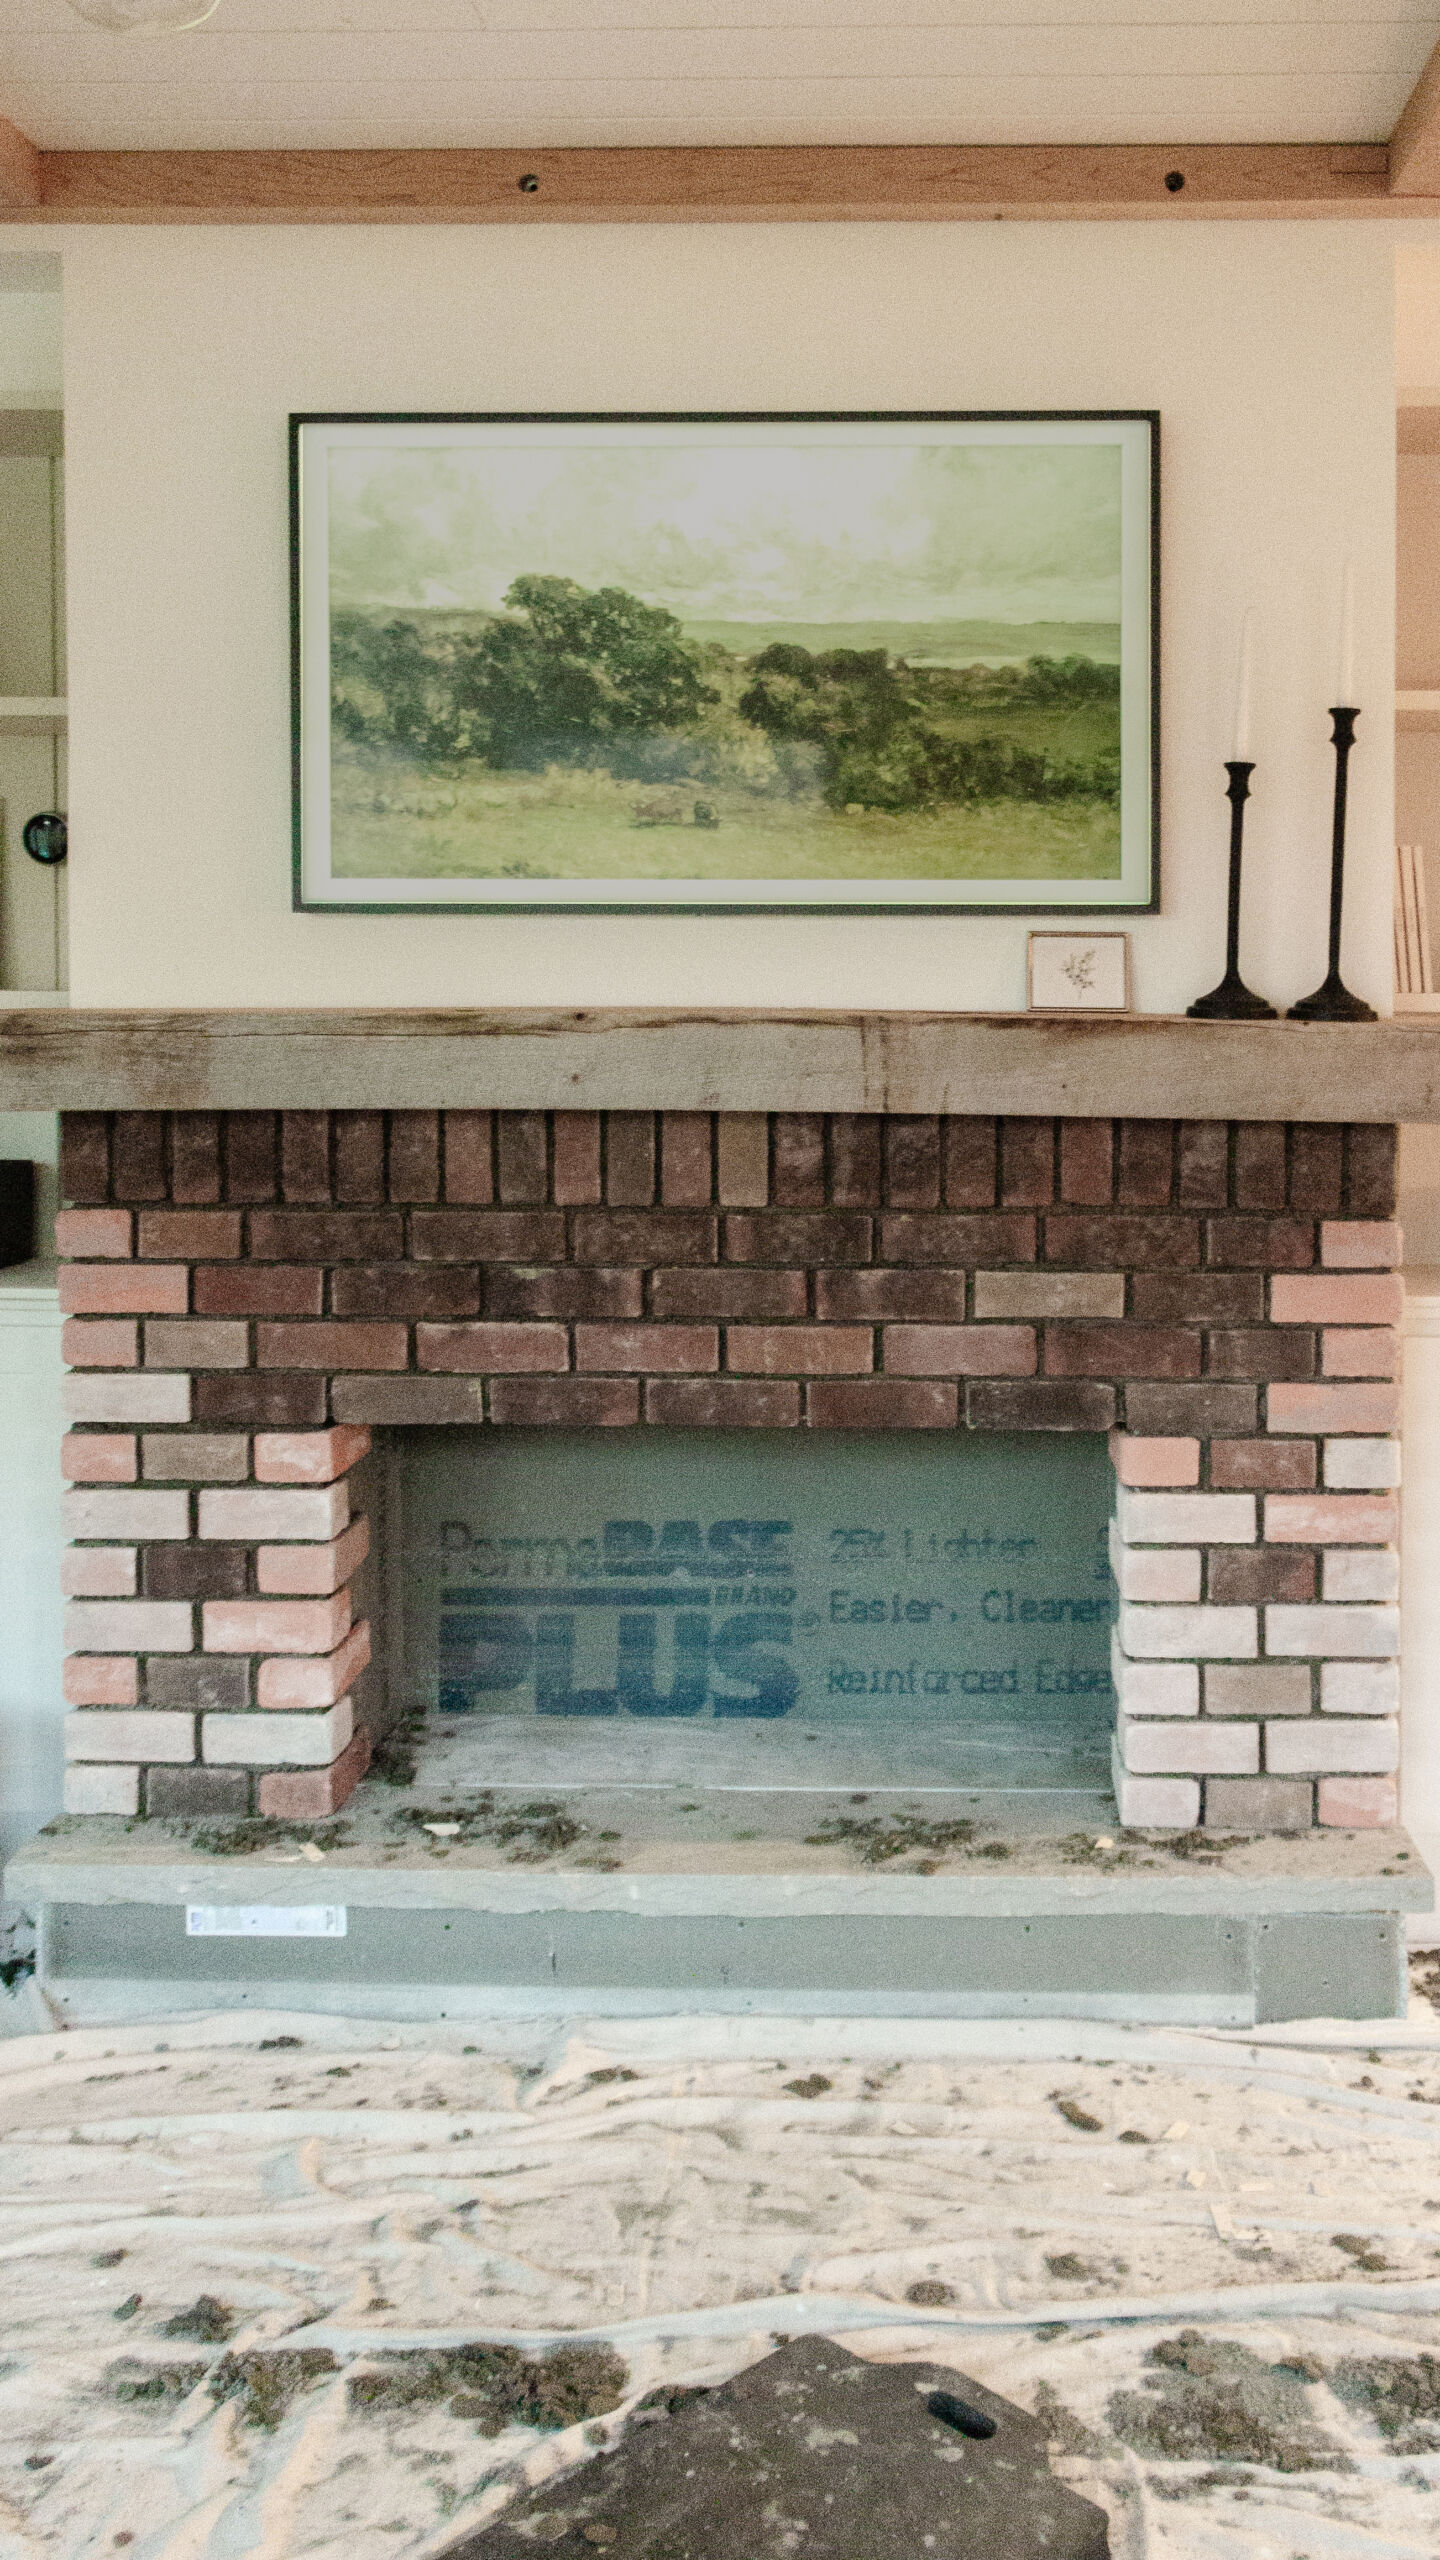
Losing daylight, but managed to snap a picture of the face finished. This was the moment I knew I couldn’t paint the brick!
Okay onto the stain… the real reason you are all here. Our initial plan was to paint the fireplace. I bought the brick on a clear out sale. It is reclaimed.
Once I decided it was too pretty to paint, I had to figure out how to get the corner pieces to match the flat pieces. With a tester brick, I first tried to “brown wash” the brick, like a white wash effect but with brown paint. While it seemed promising, I was worried that the variation in brick colour would get lost. So I moved on to stain. I went to a local paint store and the employee happily tested stains with me in the parking lot.

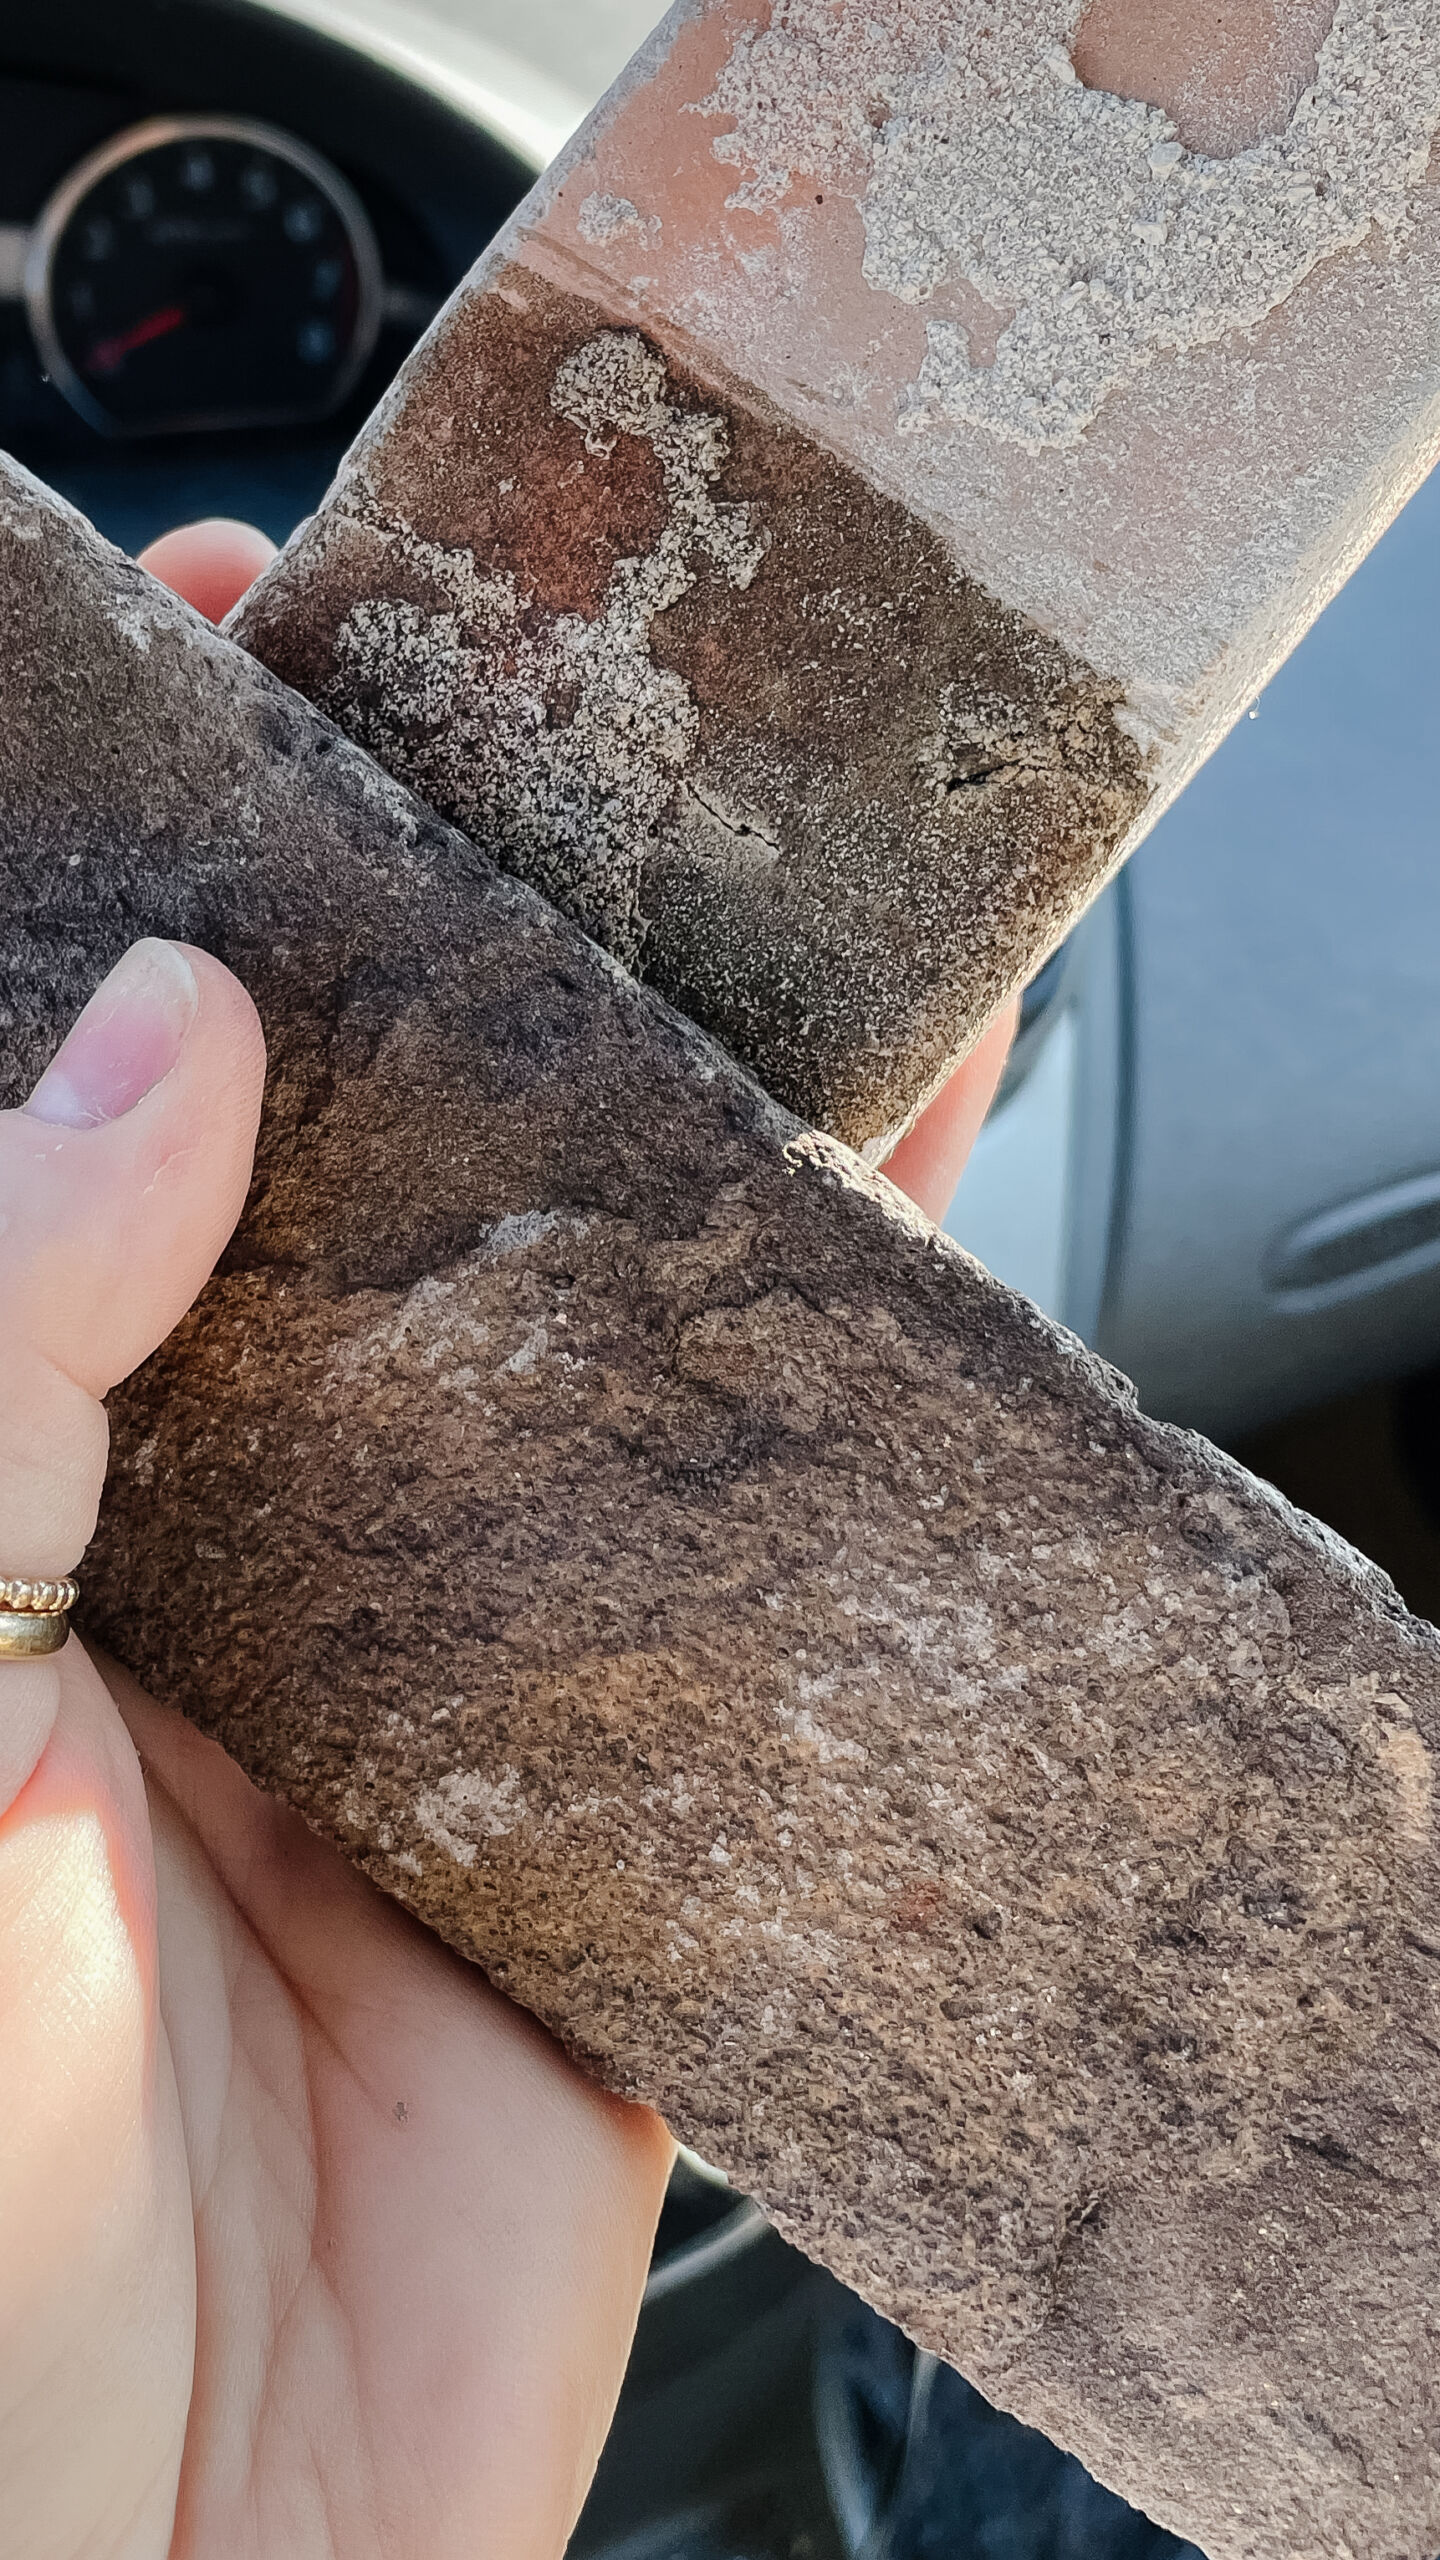
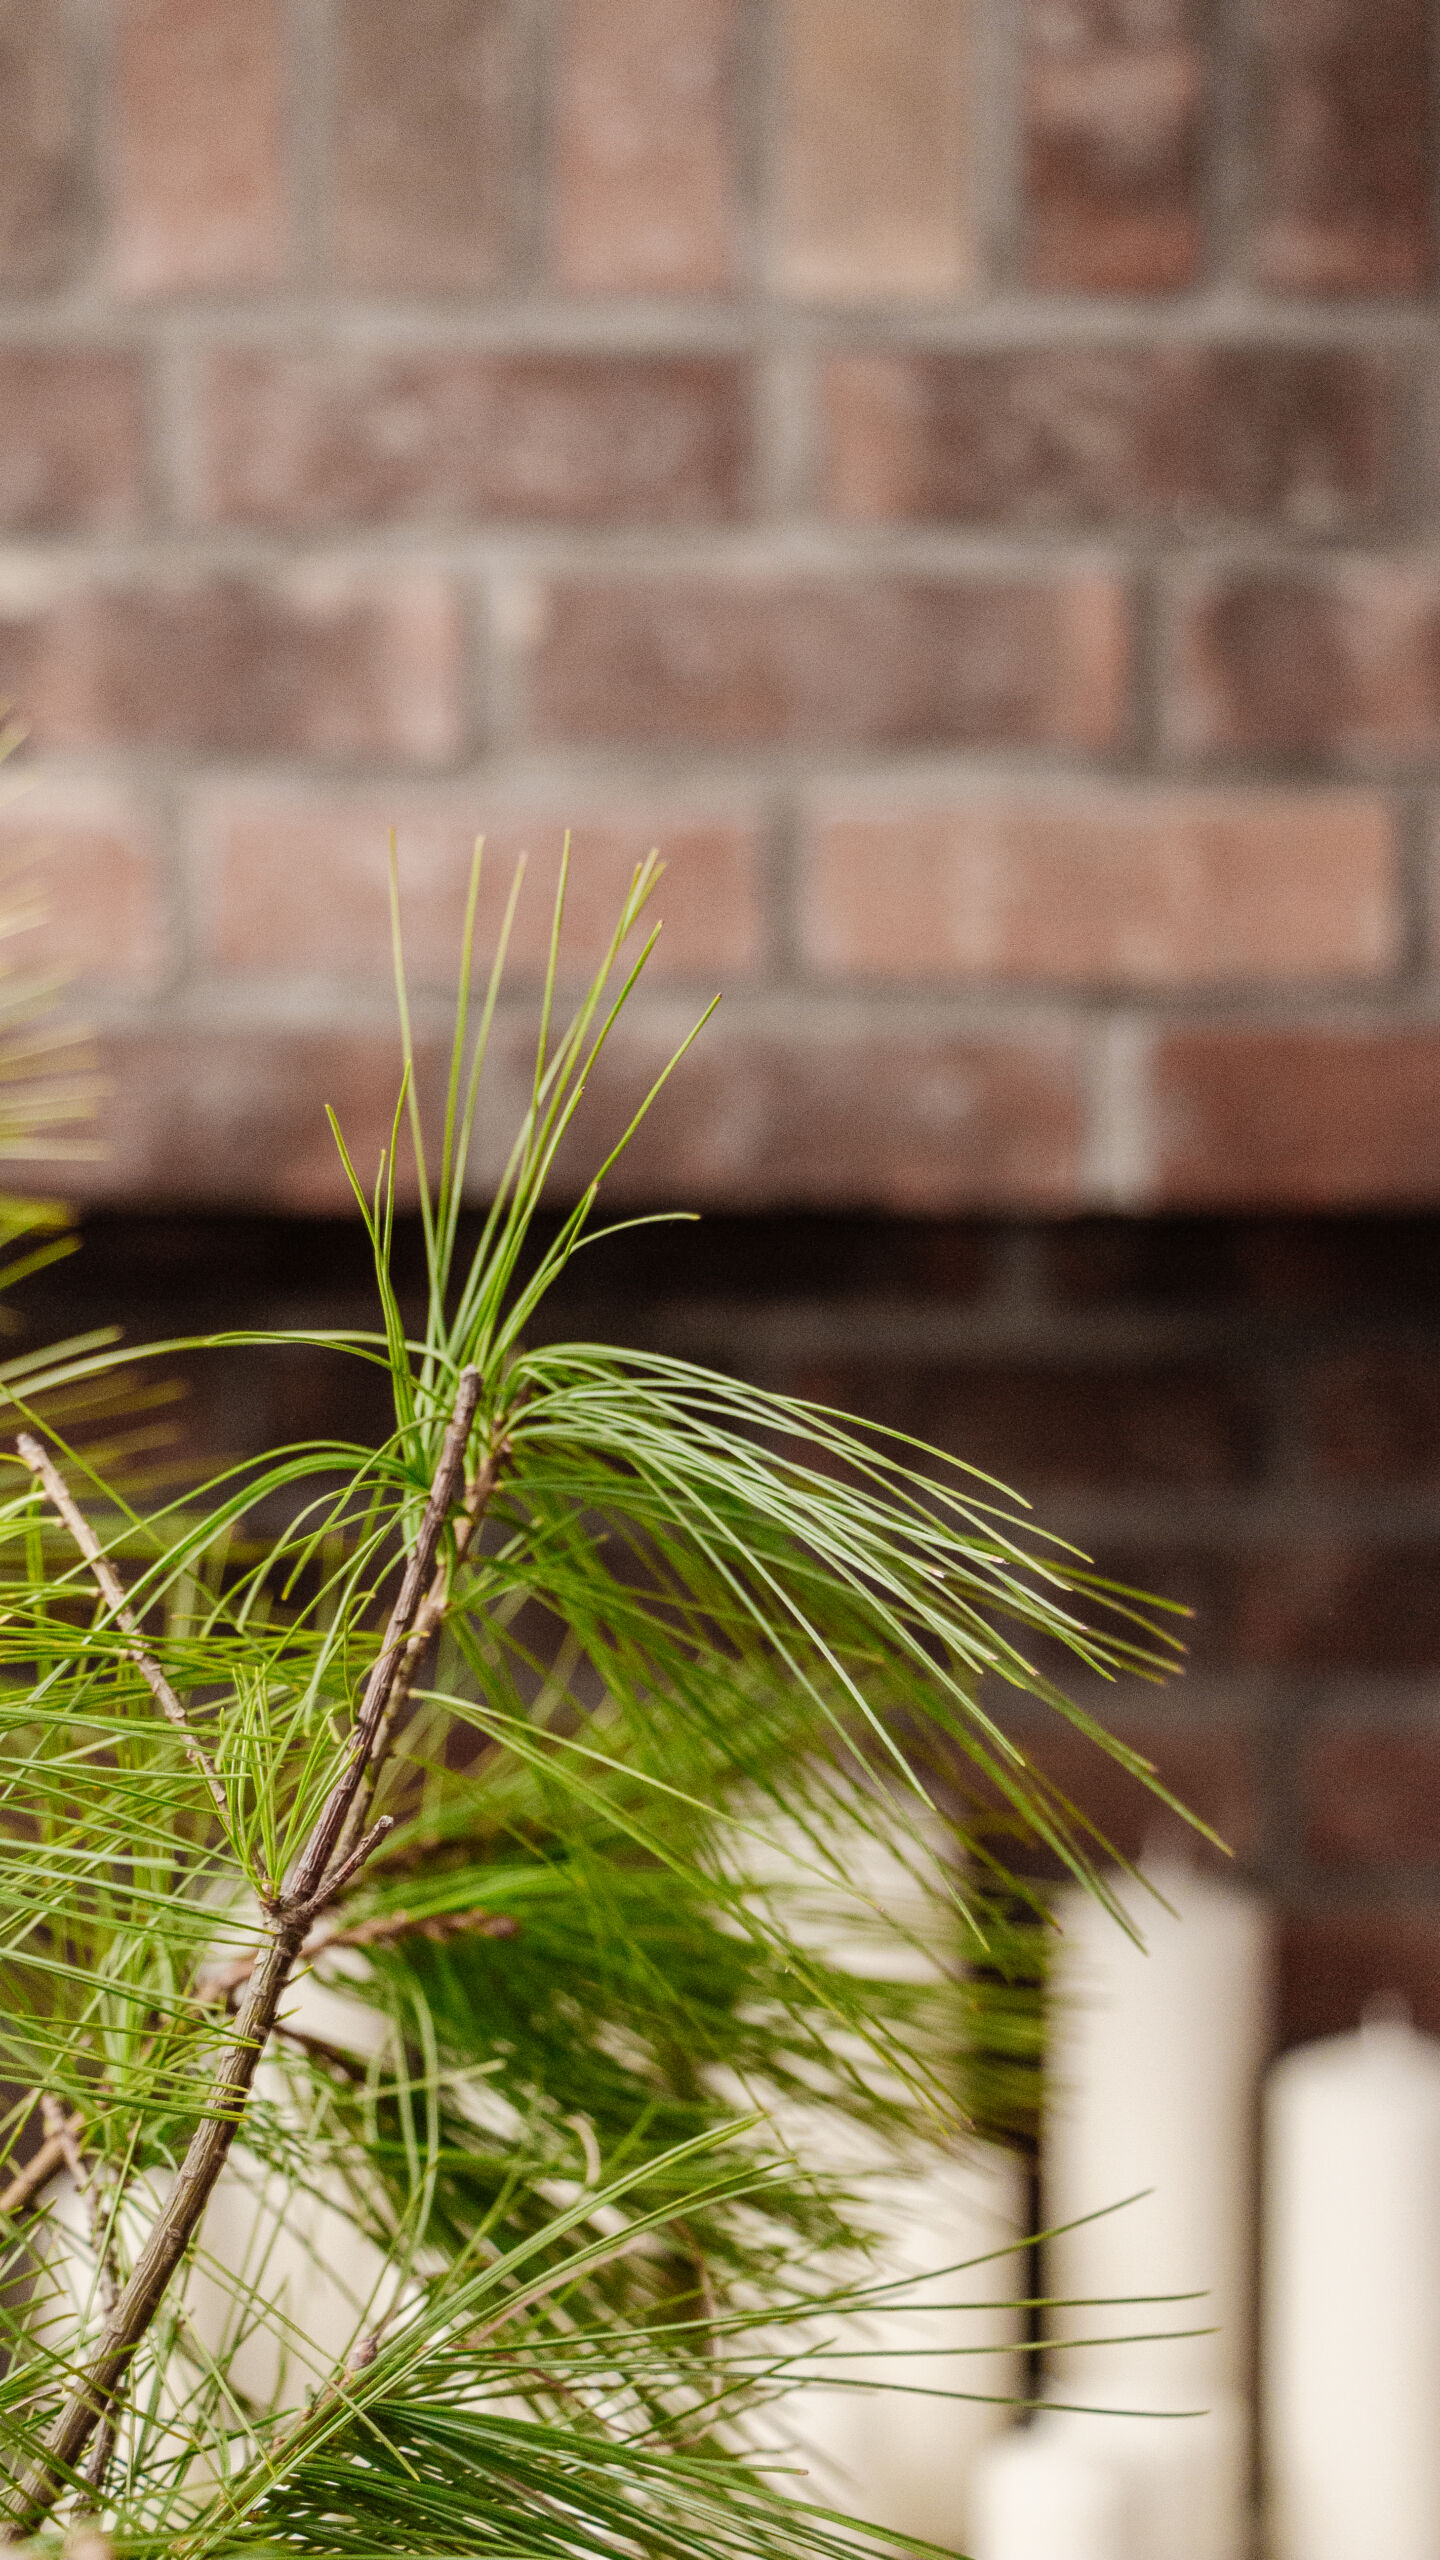
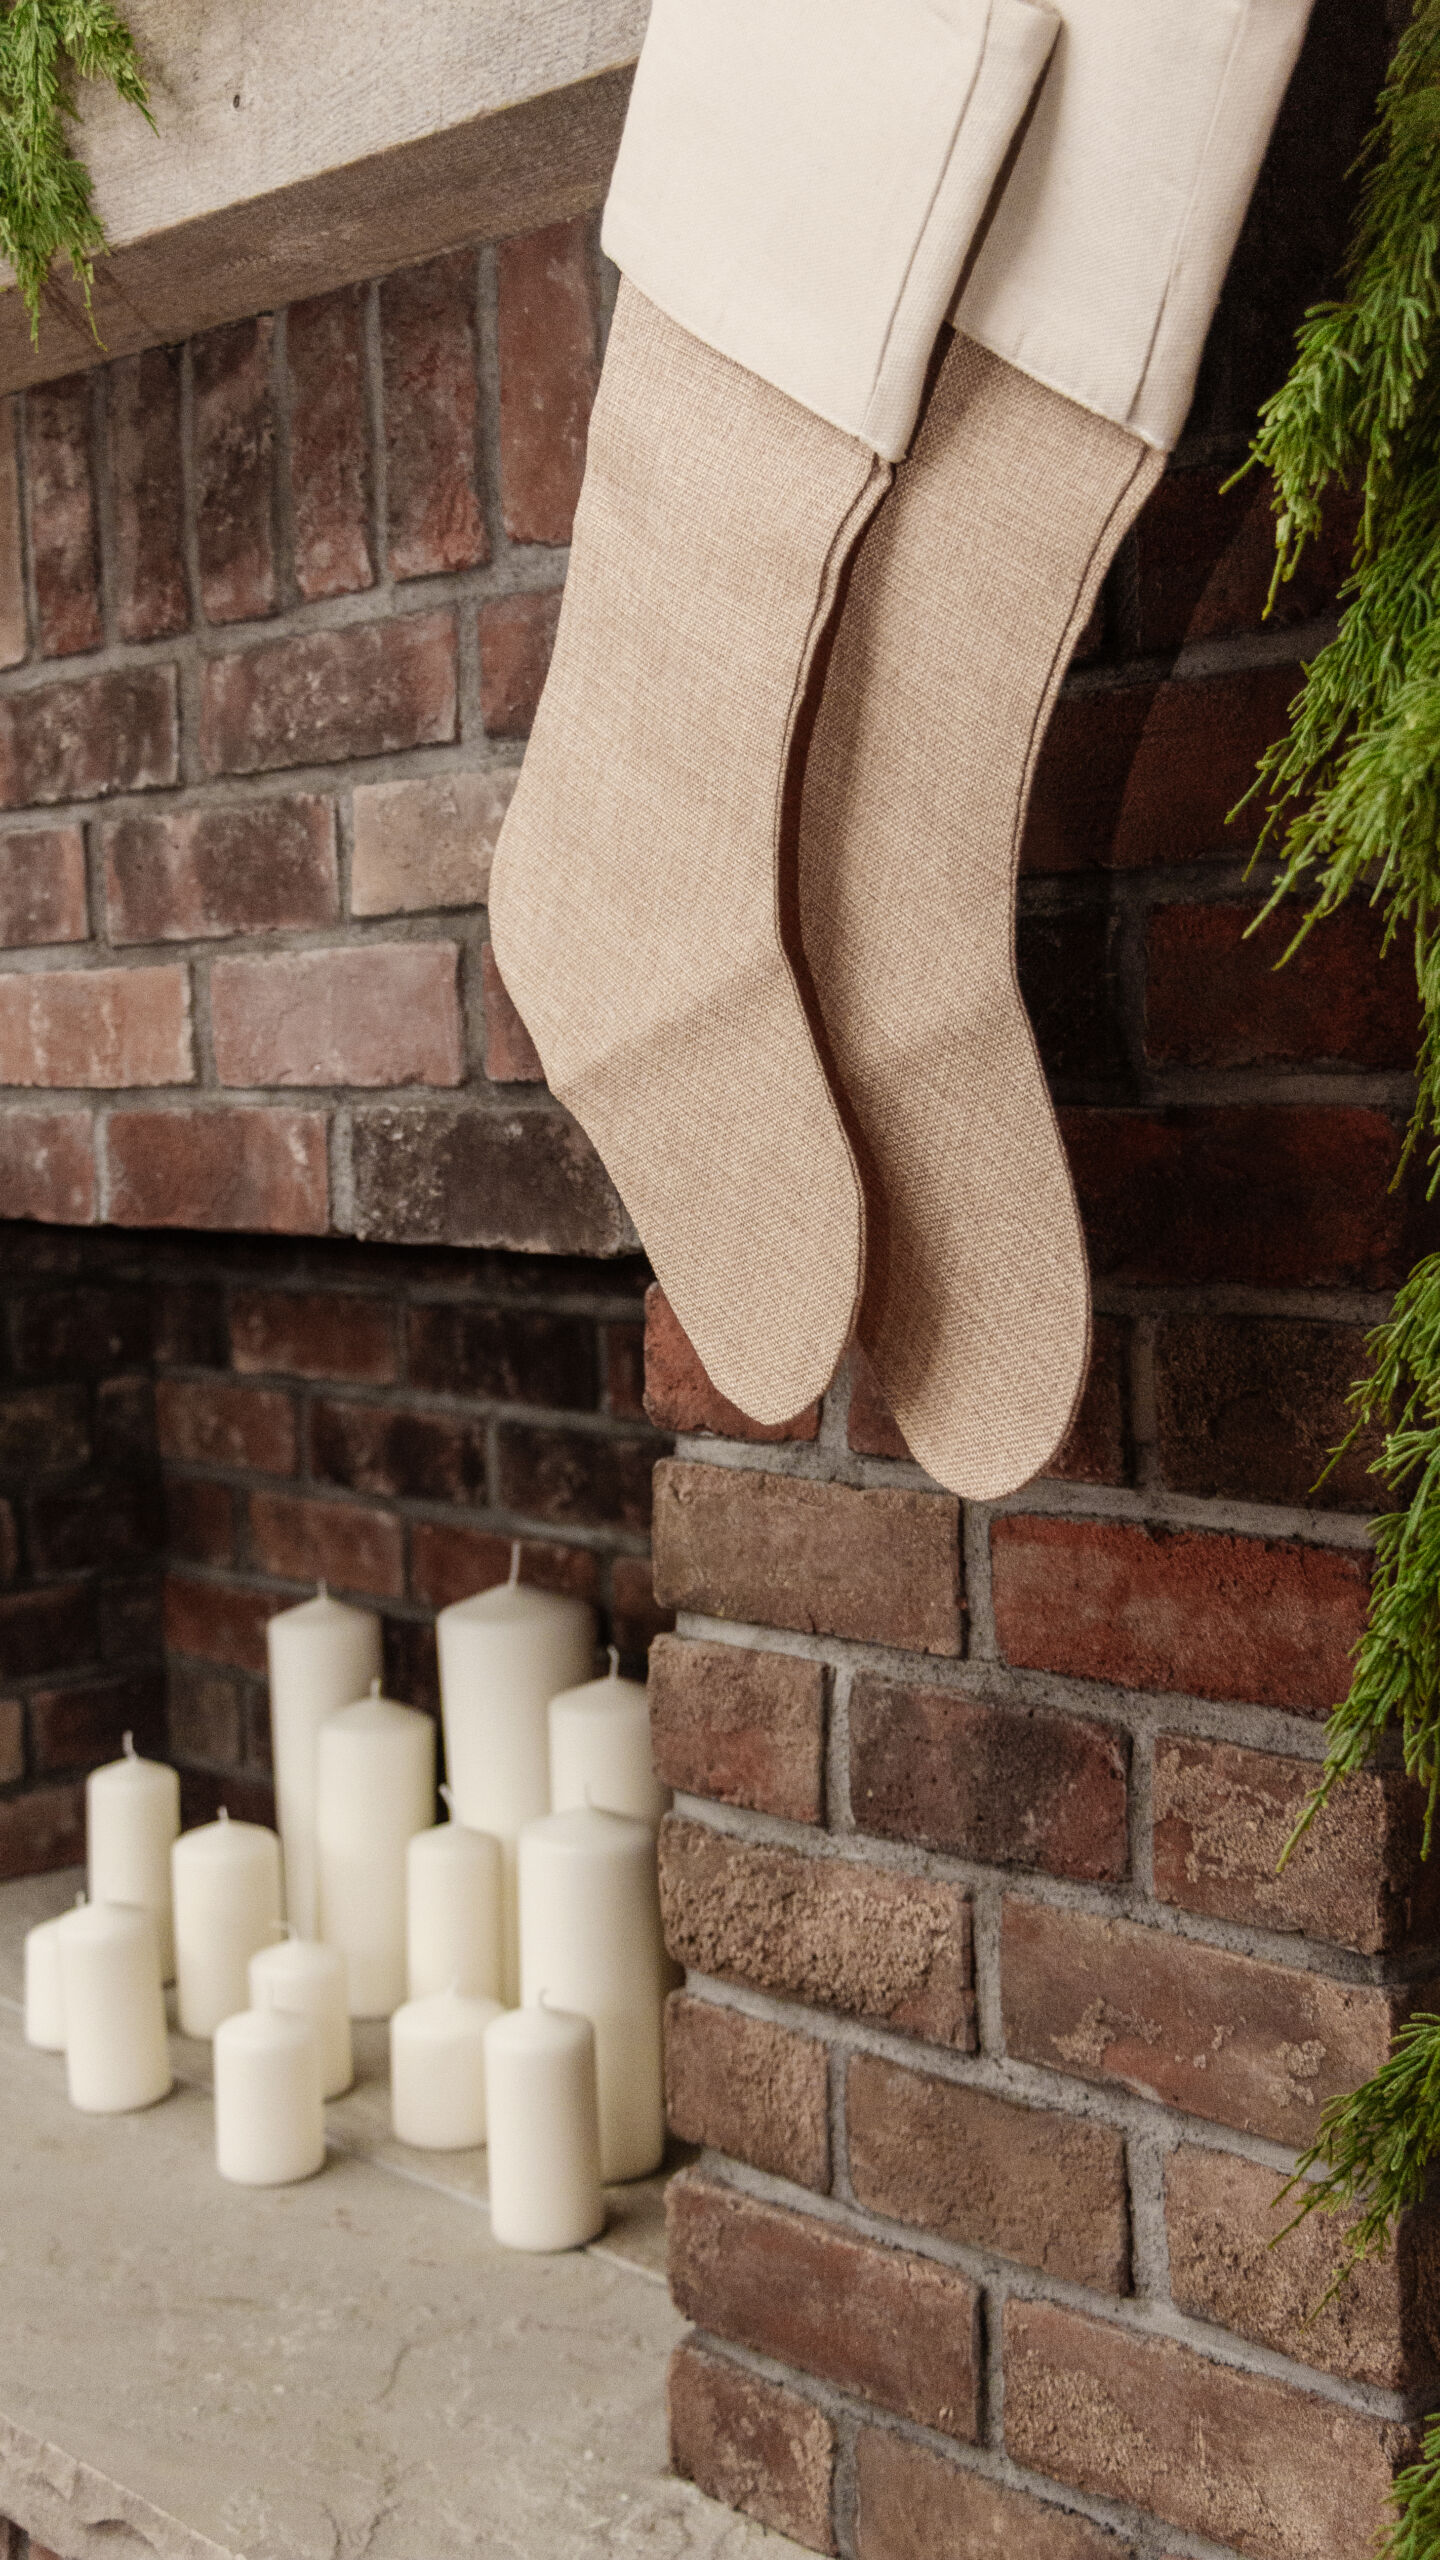
Not a bad match, eh! I ended up going with an oil-based wood stain: Old Masters Penetrating Stain in Dark Walnut. Here it is on the installed brick. The camera picks up the red more intensely than it is in person.


My DMs have been constant with stain questions and advice. My biggest piece of advice is to TEST YOUR STAIN. If it’s a new install, bring brick samples into the store to test. I brought two different bricks because my brick has considerable colour variation. If it is for an existing area, test the stain on bricks that are hidden or less obvious. When I was at the store, it took testing two stains to get it right.
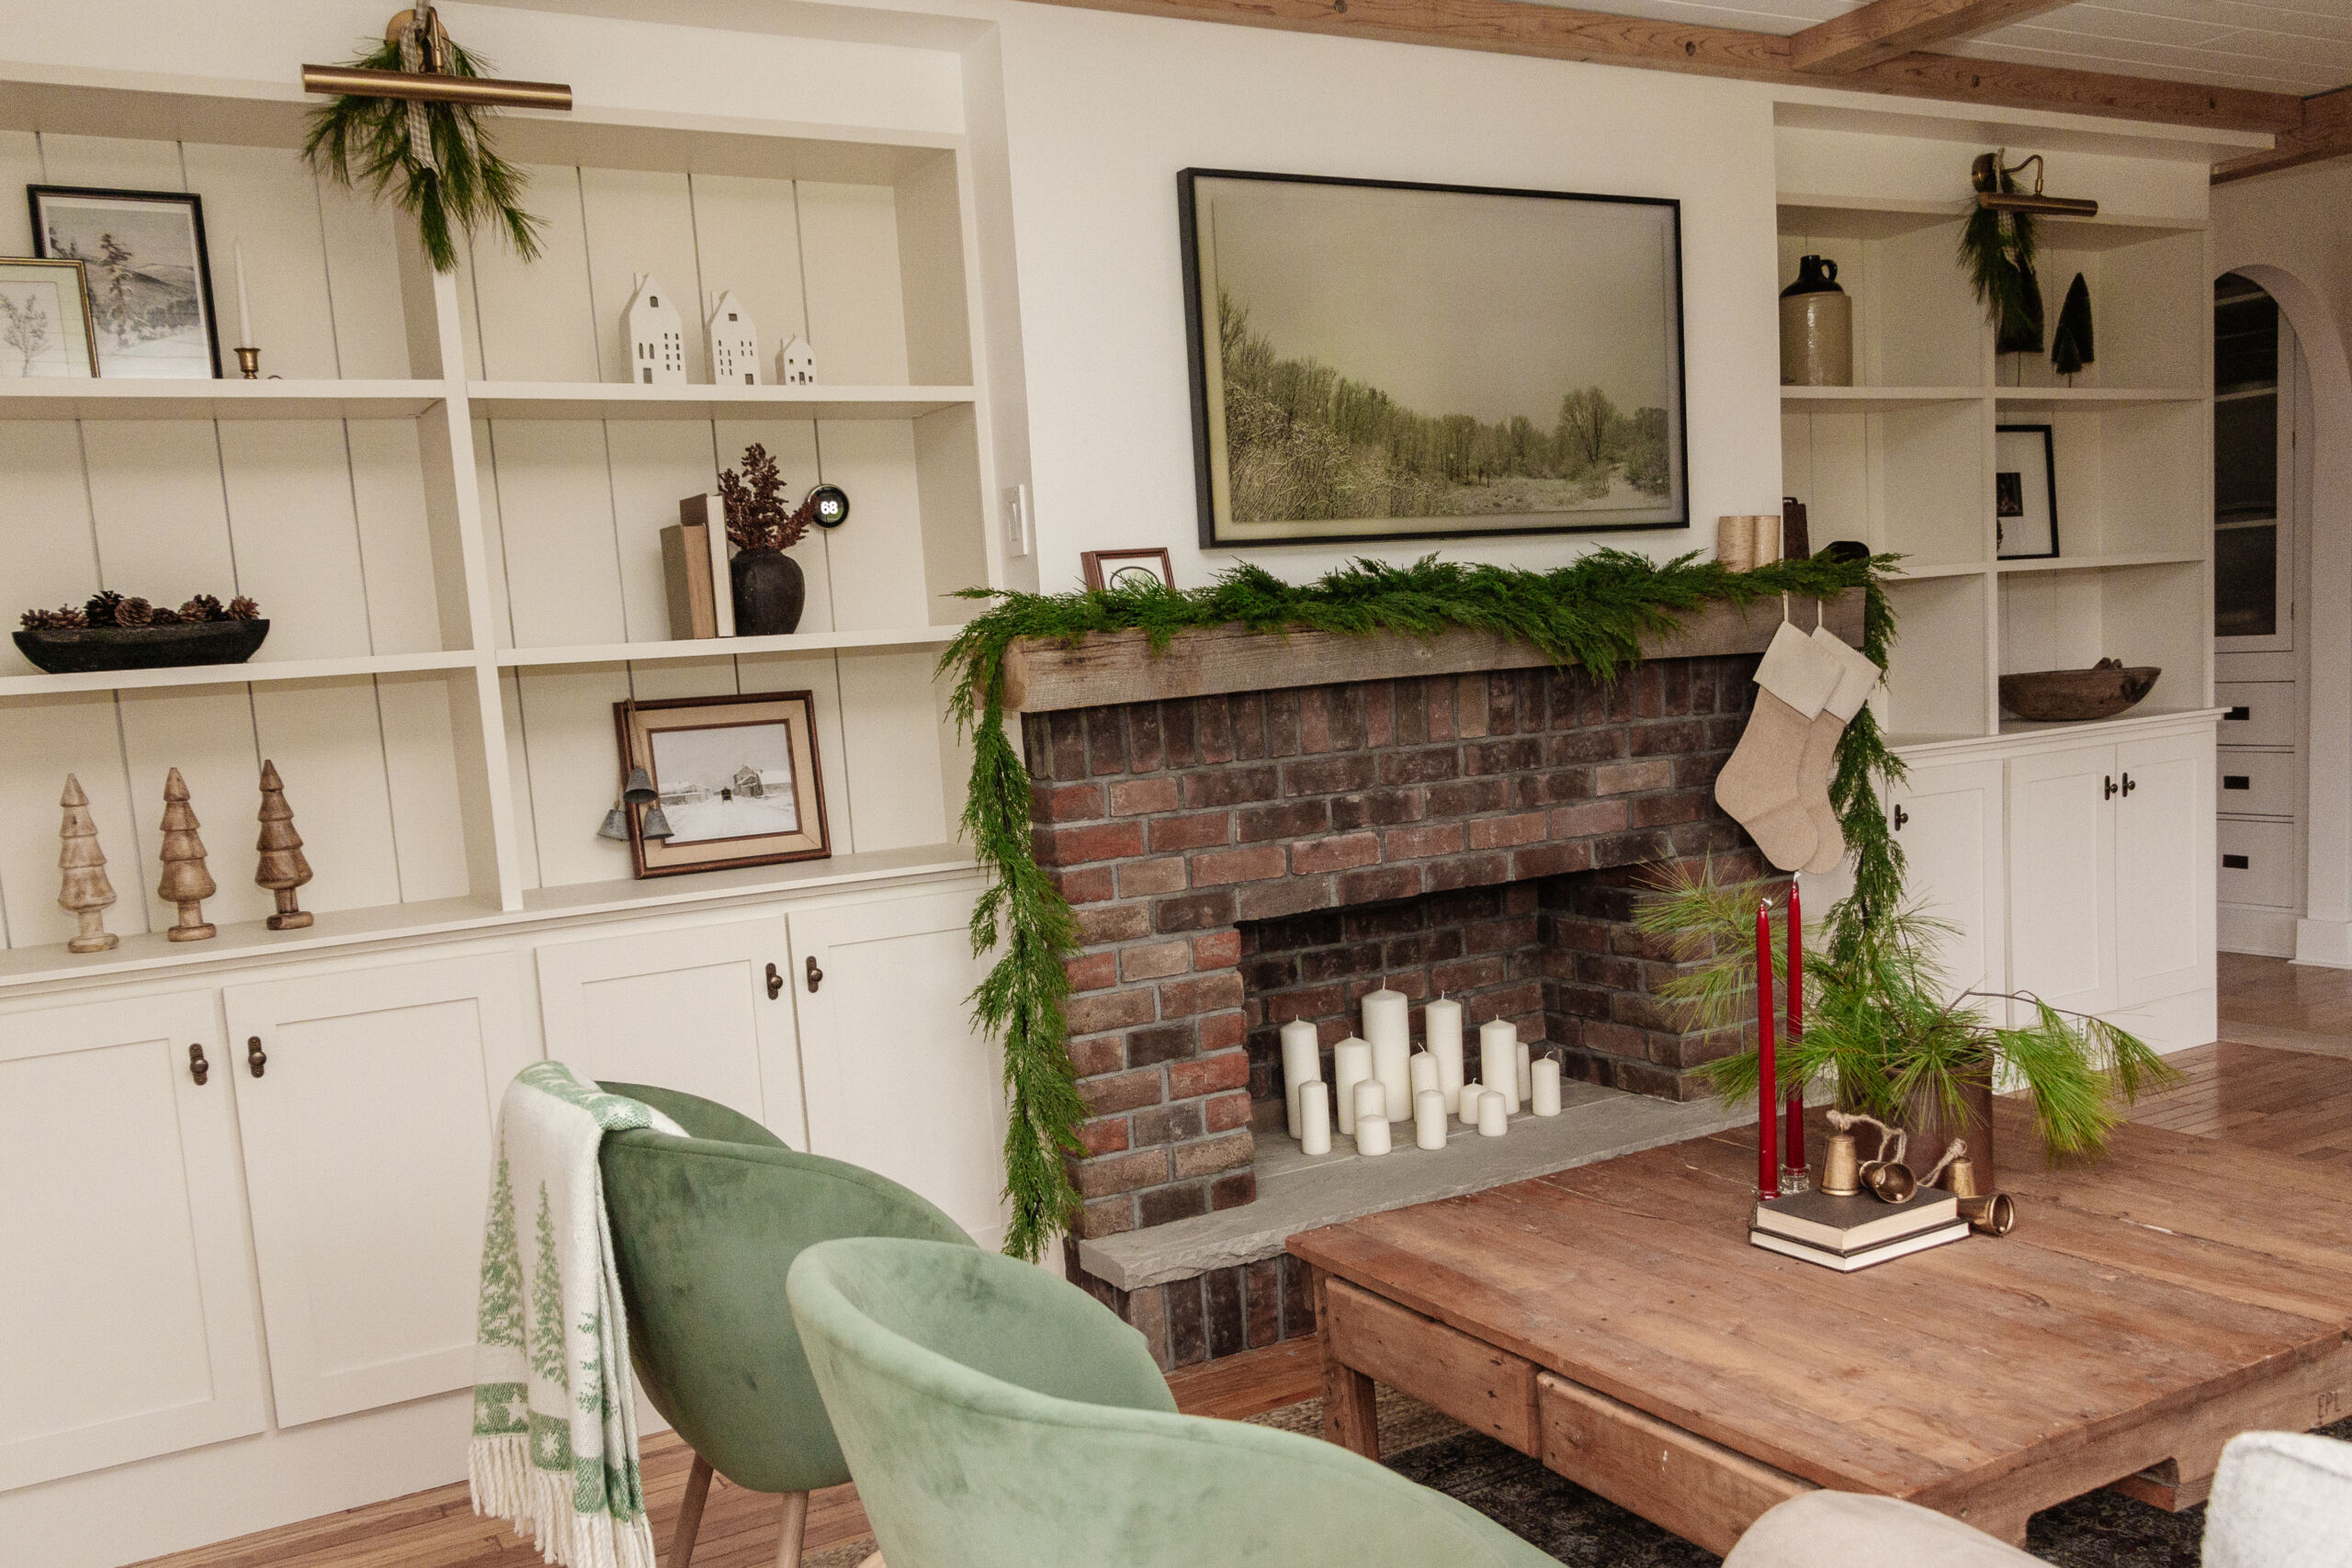
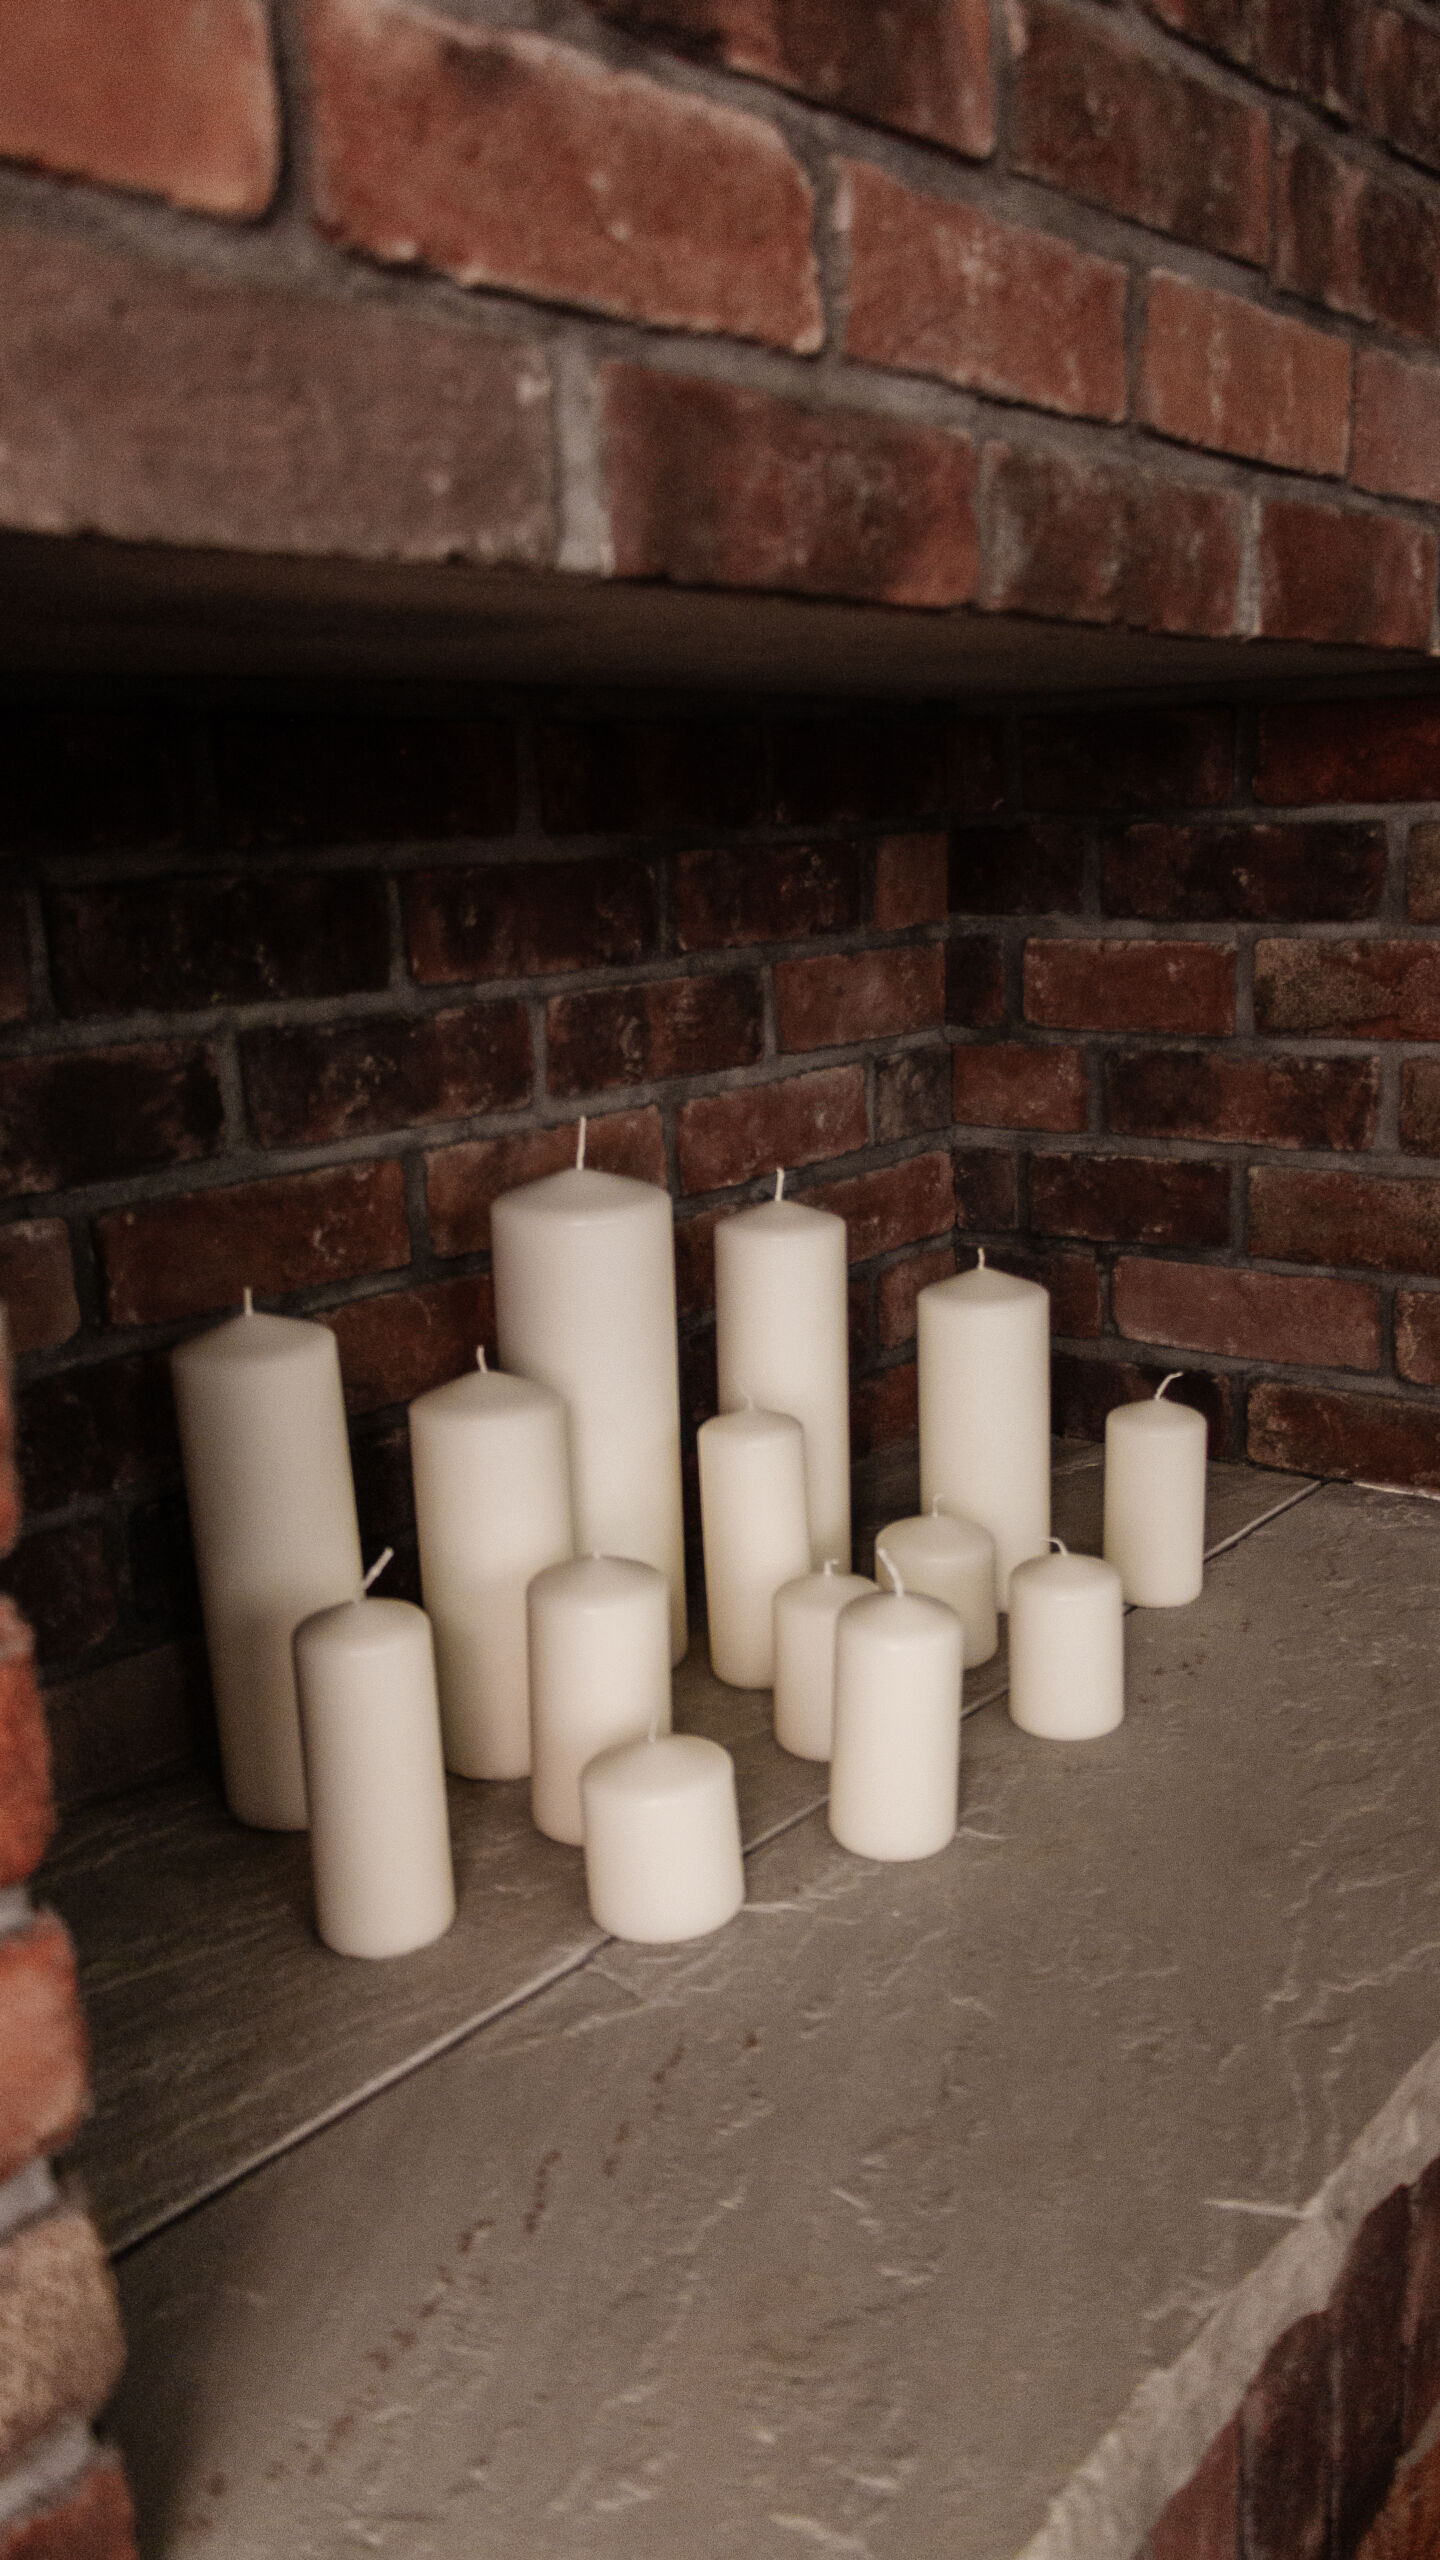
I am so happy with how it turned out, the whole thing; I feel like it looks original to the house. And that is exactly what I had hoped for. Check out all the Christmas-y reveal photos below!
